9 Quick Kitchen Tricks for Effortless Haunted Desserts
Halloween desserts don’t need to be complicated to impress. With a few smart shortcuts and a little creativity, you can turn simple ingredients into hauntingly good treats in minutes. These kitchen tricks focus on technique, timing, and presentation rather than long prep work, making them perfect for busy nights or last-minute party spreads. Whether you’re baking with kids or hosting friends, these ideas will keep the fun high and the cleanup low.
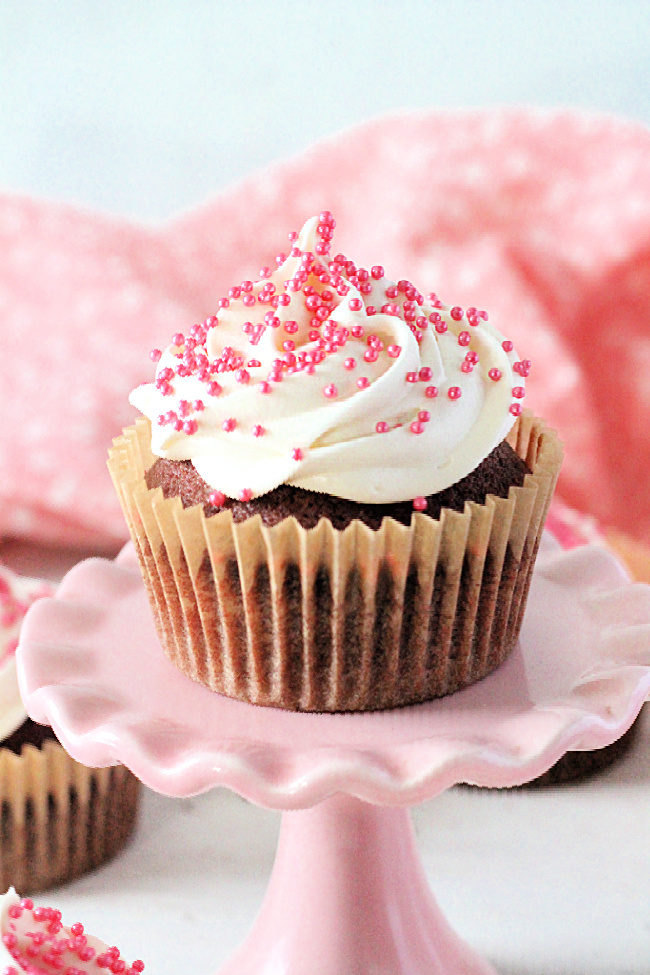
1. Use store-bought dough or cake mix as a fast foundation
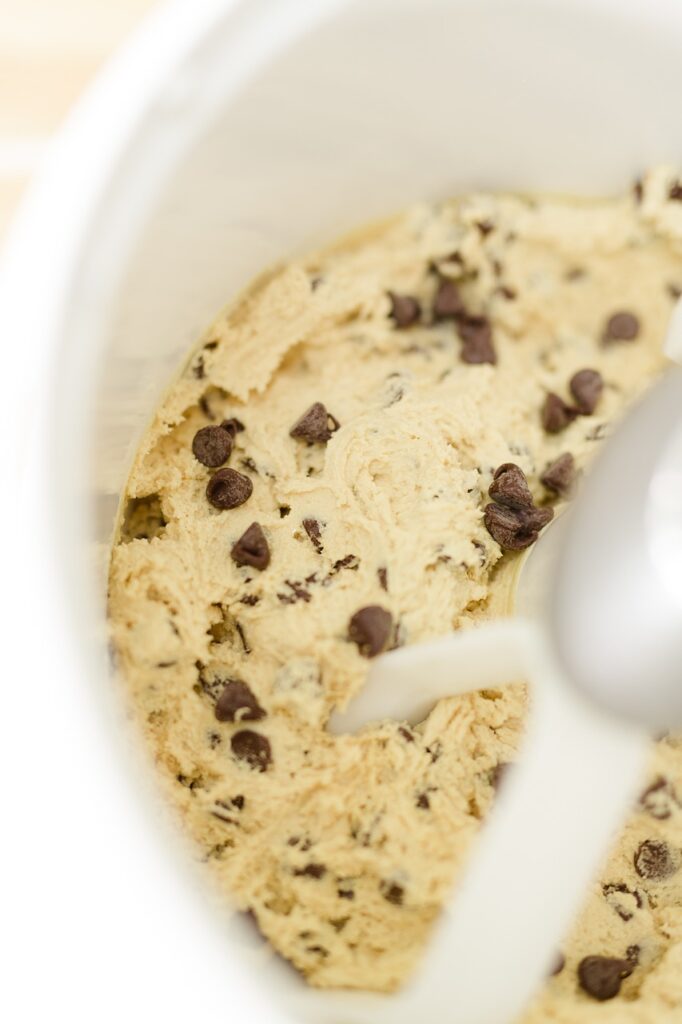
If time is tight, lean on quality store-bought dough or boxed cake mix and treat it like a canvas. A roll of cookie dough, refrigerated pie crust, or a cake mix saves you the flour, chill time, and cleanup while still producing a fresh-baked result. Press premade dough into themed pans, add simple mix-ins, or bake cupcakes from cake mix and transform them with spooky toppers. The point is technique, not shame. Properly baked, these bases rise and brown like scratch versions and let you focus on decoration and timing rather than starting from zero.
2. Melt candy melts or colored wafers for quick decorating
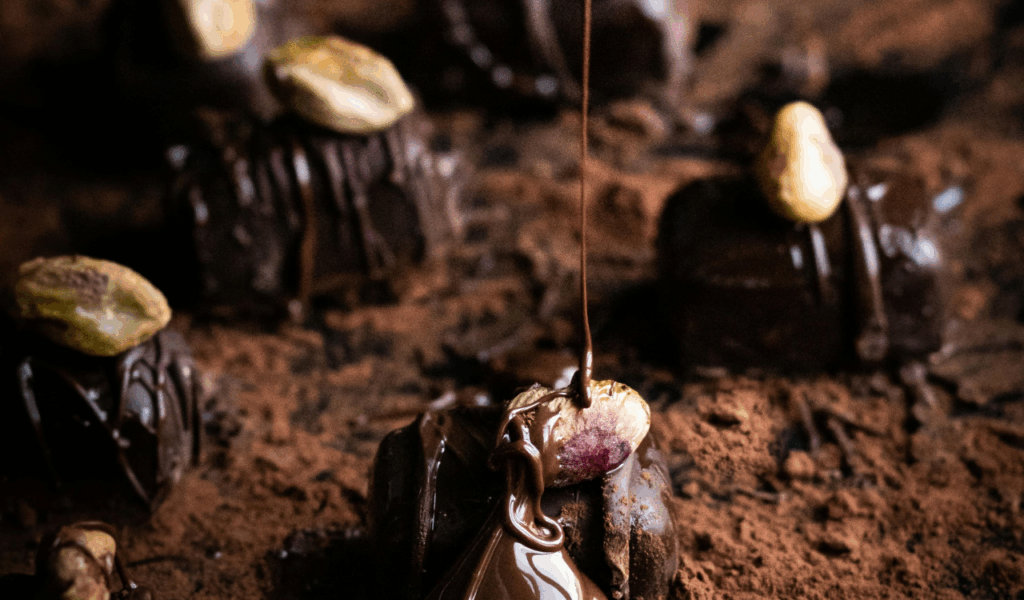
Colored candy melts simplify all the messy piping and tempering that chocolate normally requires. Melt in short bursts in the microwave and stir until glossy, then use squeeze bottles, zip-top bags with a clipped corner, or small spoons to drizzle, dip, or flood shapes. Candy melts set quickly at room temperature and hold vibrant colors, which makes them ideal for eyes, drips, and silhouettes. They also clean up with hot water and a sponge, so you spend more time assembling and less time scrubbing.
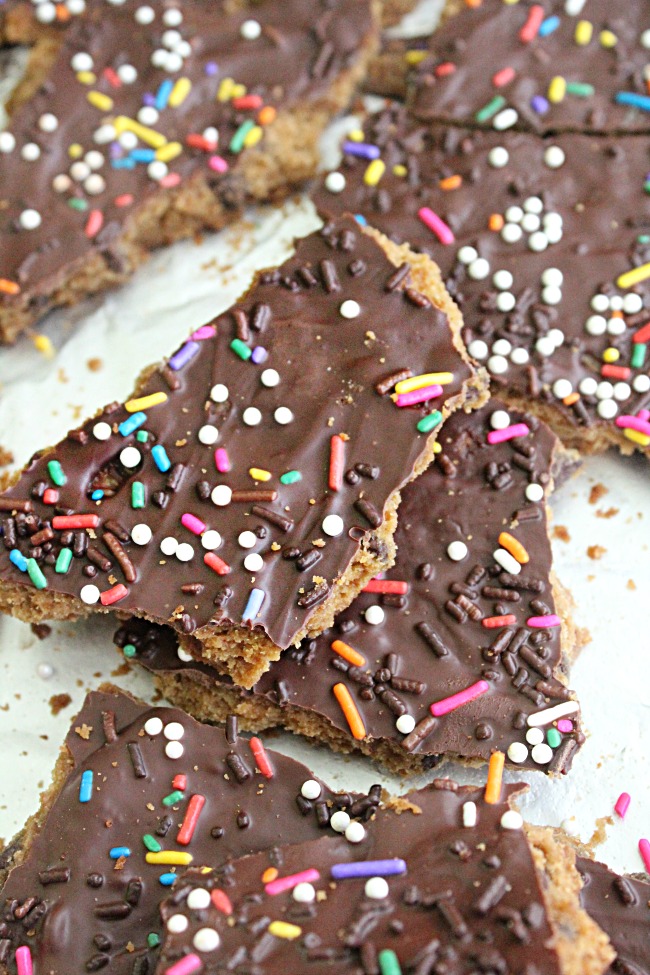
3. Make no-bake dessert bars and bark for zero-oven success
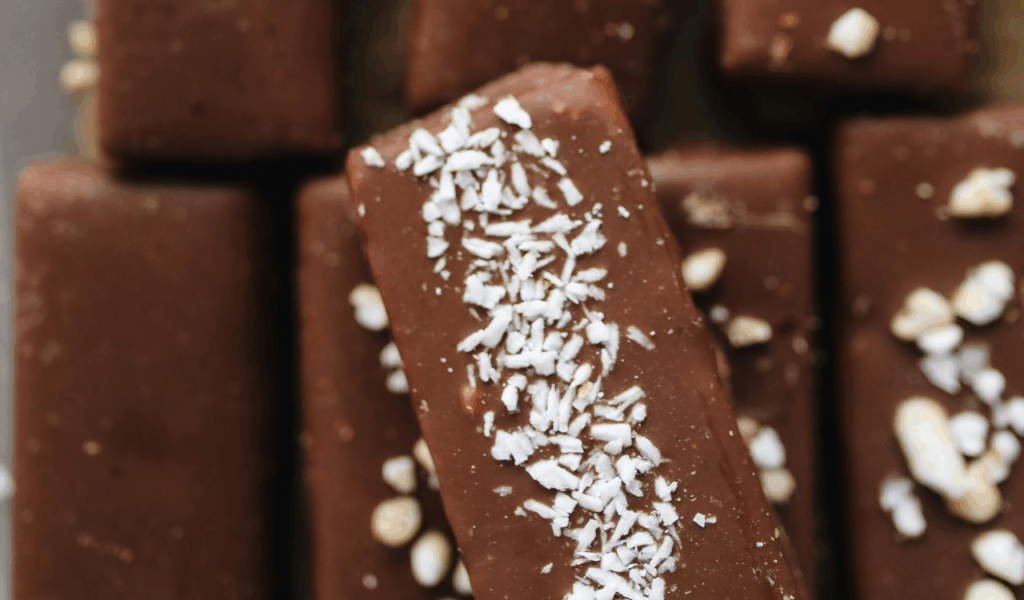
No-bake bars and candy bark are speedy, scalable, and forgiving. Use a pressed base of crushed cookies plus melted butter for bars, or spread melted chocolate and scatter toppings for bark. Chill until set and break into rustic shards. These formats take well to seasonal flavors – drizzle with colored melts, press in candy eyes, or sprinkle toasted seeds. No-bake desserts reduce active time and eliminate oven-watching, which is especially useful when you’re prepping multiple items at once for a party.
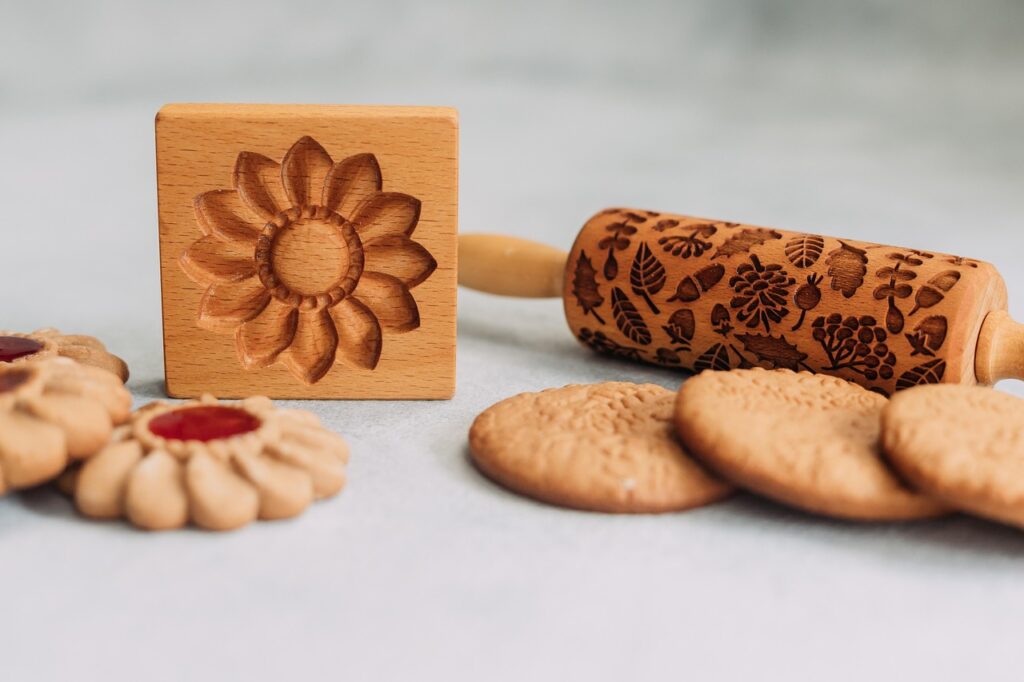
4. Use molds or cookie cutters to create instant spooky shapes
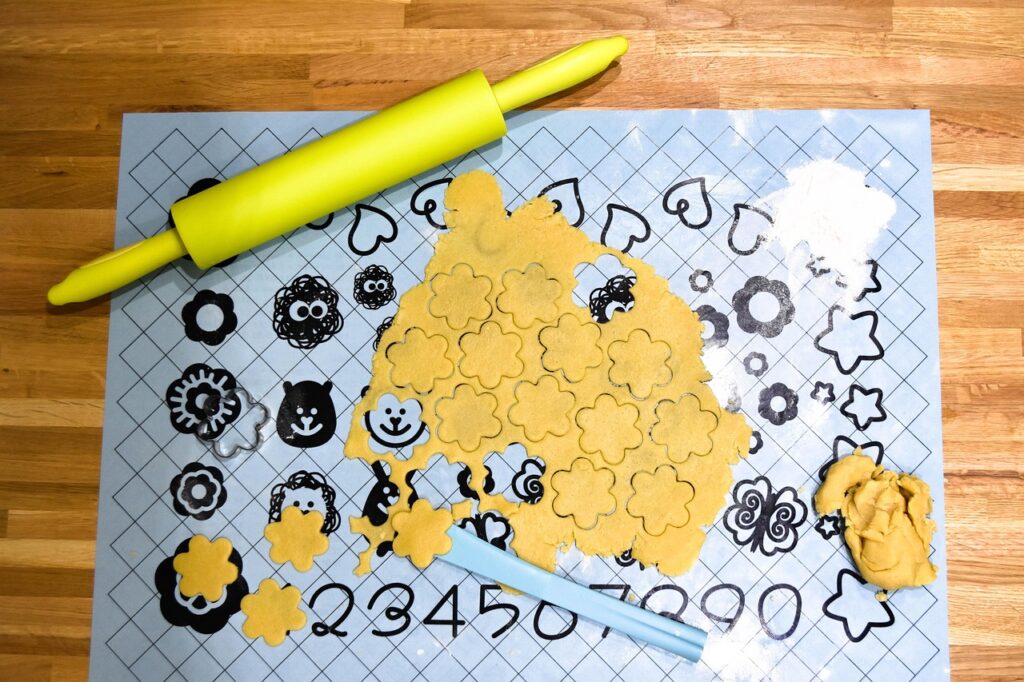
A mold or cutter turns ordinary batter or dough into themed treats without artistic skill. Silicone molds release easily and work for molded chocolates, mini cakes, or gelatin shapes. Cookie cutters are perfect for press-and-bake cookies, fruit slices, or sandwich cutouts. The visual payoff is immediate – a ghost, bat, or skull reads seasonal even before you add details. Keep cutters and molds clean and dry, and for the best definition, chill dough briefly before cutting so shapes hold during baking.
5. Add dramatic garnishes to elevate simple bases
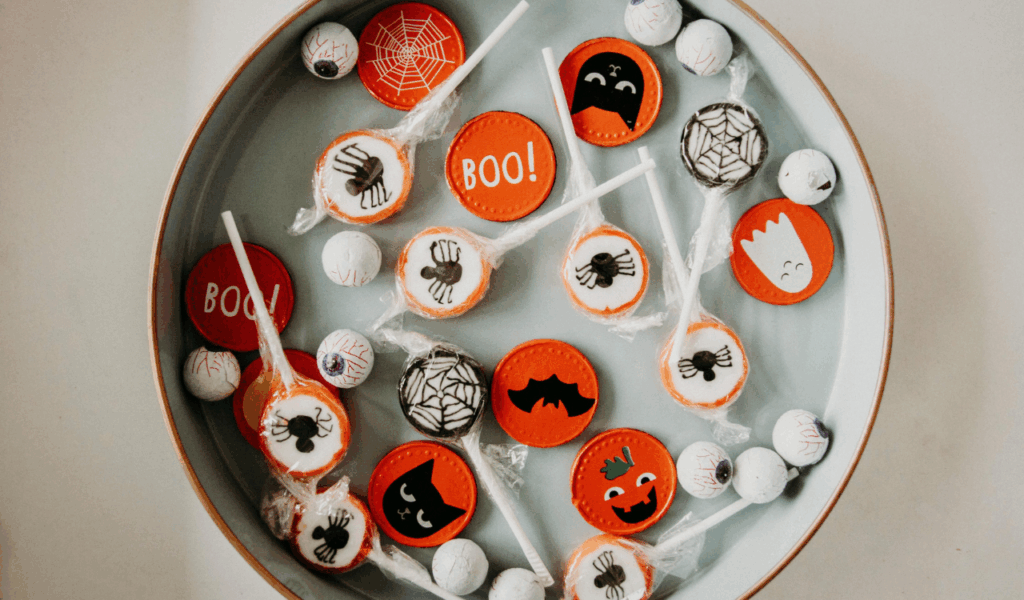
Small, timely garnishes make an outsized difference. Candy eyes, edible glitter, toasted seeds, and thin chocolate accents convert plain cupcakes or cookies into characterful desserts. Place garnishes strategically – a single pair of candy eyes gives personality, a smear of colored glaze creates a “slime” effect. Garnishes are also a low-effort way to add texture and contrast, and most are shelf-stable, so you can prep earlier and finish in minutes before serving.
6. Use food coloring and simple tinting to create a spooky palette
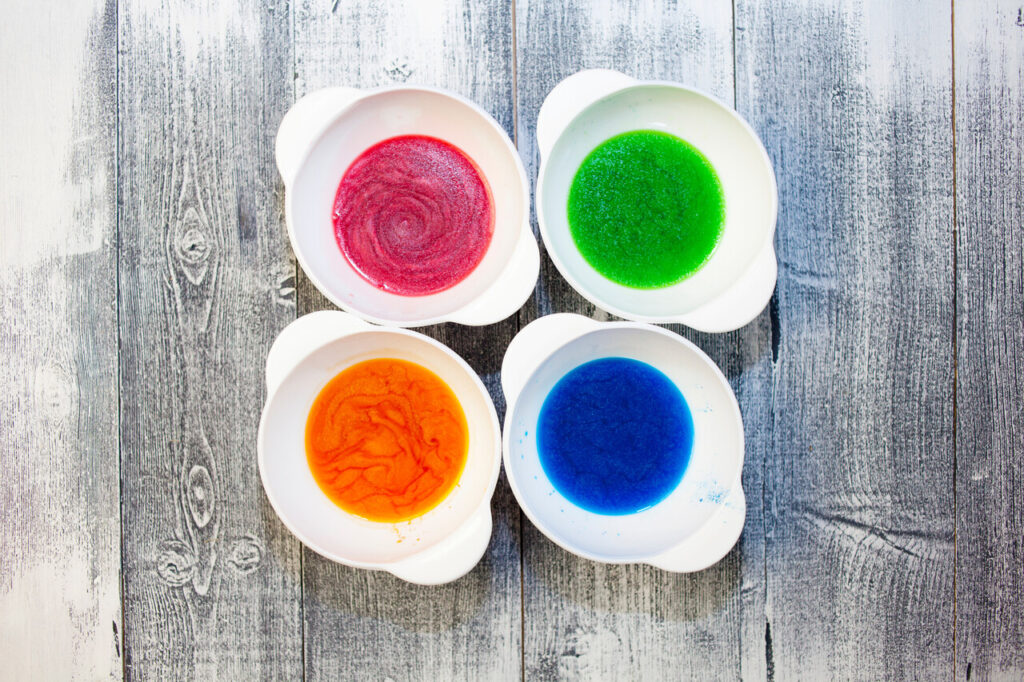
Tinting icings, glazes, and popcorn with gel or powdered food coloring turns familiar flavors visually festive. Gel colors are concentrated, so you use less and avoid watery run-off. Mix small amounts into white chocolate, cream cheese frosting, or simple syrup to get greens, purples, and eerie blacks that read well under party lights. When you need a slime look, thin the colored glaze slightly with milk so it drips slowly. Always test color on a small portion first; color deepens as it sits.
7. Convert everyday snacks into Halloween versions with coatings
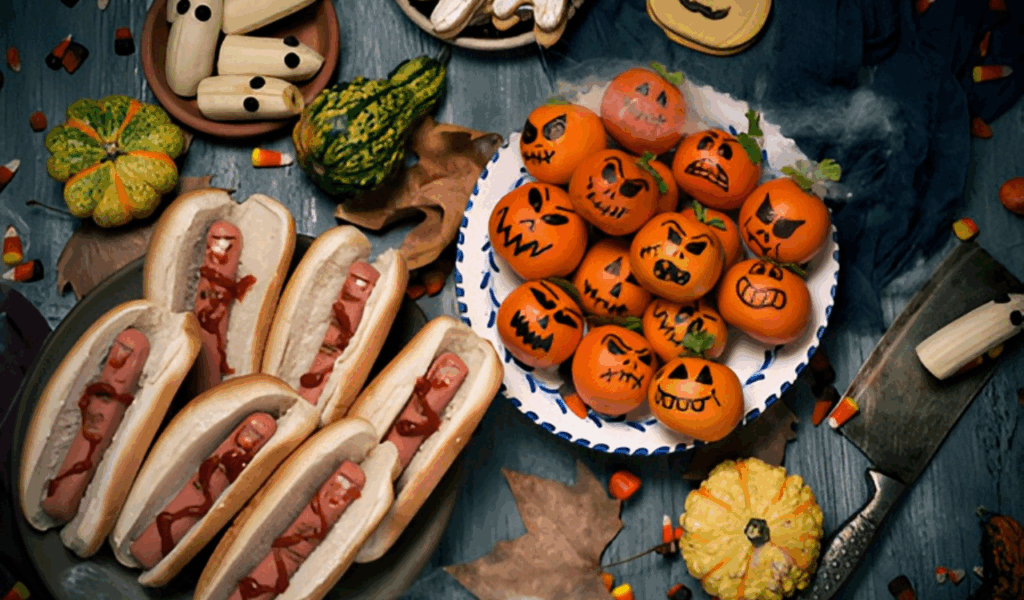
Transform pretzels, popcorn, or nuts by tossing them with flavored coatings. A drizzle of melted chocolate, a dusting of spiced sugar, or a quick shake in seasoned salt makes these staples feel thematic. For example, toss popcorn with browned butter and a pinch of pumpkin spice, then scatter candy eyes while it cools. These small steps keep preparation fast but deliver variety on a snack table without introducing entirely new recipes or long bake times.
8. Prep elements ahead and assemble just before serving
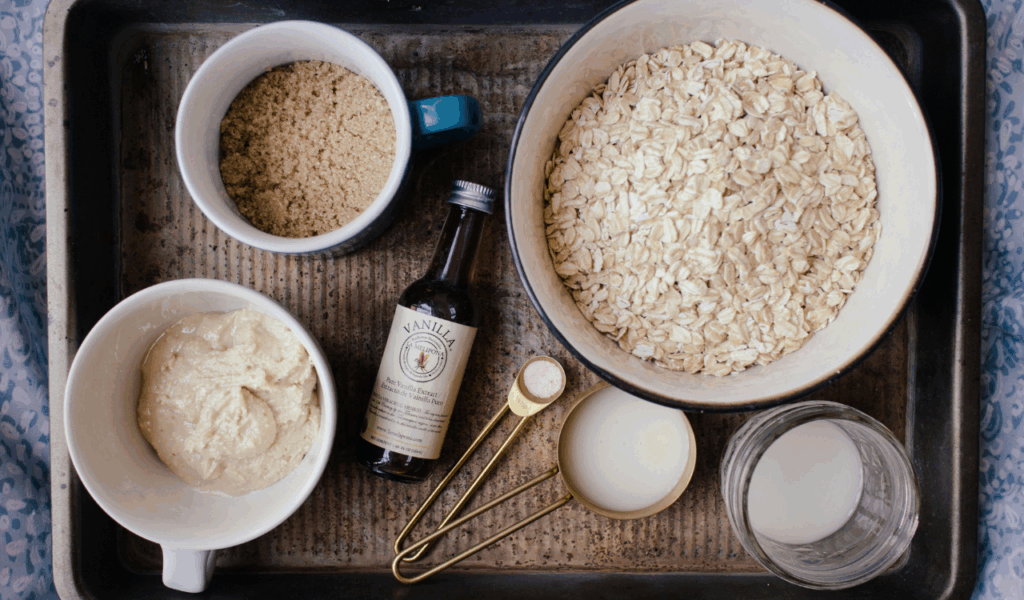
Break a dessert into components – crust, filling, and topping – and prep the first two in advance. Store them separately in airtight containers. When guests arrive, you only assemble and garnish, which preserves texture and the “fresh out of the oven” impression. This approach lets you bake or set during downtime and use the final ten minutes for finishing touches, reducing stress and keeping flavors bright. Label components and set a quick assembly station so last-minute work feels organized and easy.
9. Layer desserts in cups or jars for a dramatic, no-slice presentation
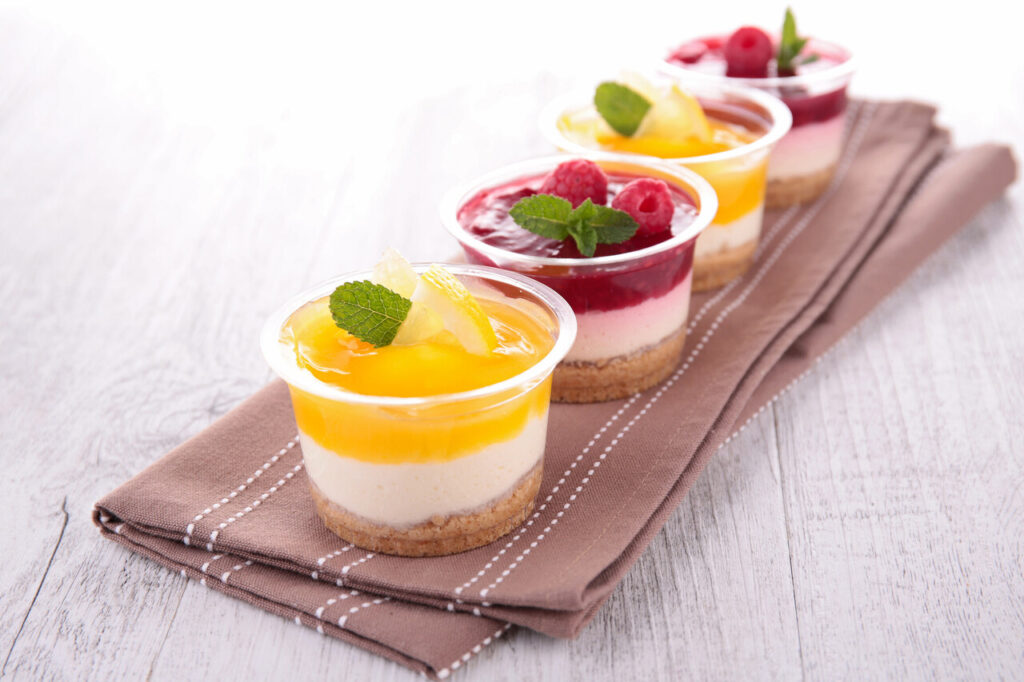
Layering transforms scraps into an intentional treat with minimal effort. Alternate cookie crumbs, pudding, fruit compote, whipped cream, and candy in clear cups for a showy effect. The visual stratification makes a simple dessert look curated, and portions are tidy for guests. Cups also minimize serving tools and cutlery, and they scale easily – make a dozen jars in the time it takes to decorate one multi-layer cake. Finish with a small garnish so each jar looks finished and festive.