9 Microwave Tricks for Quick Caramel Corn Nights
Caramel corn nights don’t have to be messy or complicated. With a few smart microwave tricks, you can create perfectly coated, crispy popcorn in minutes. From using a brown paper bag for easy cleanup to adding baking soda for extra crunch, these tips make the process simple, fast, and fun. Whether you’re preparing a quick snack for family movie night or a party treat, these strategies ensure each kernel shines without sticky frustration, and that too, with ease.
1. Use a Brown Paper Bag for Effortless Cleanup
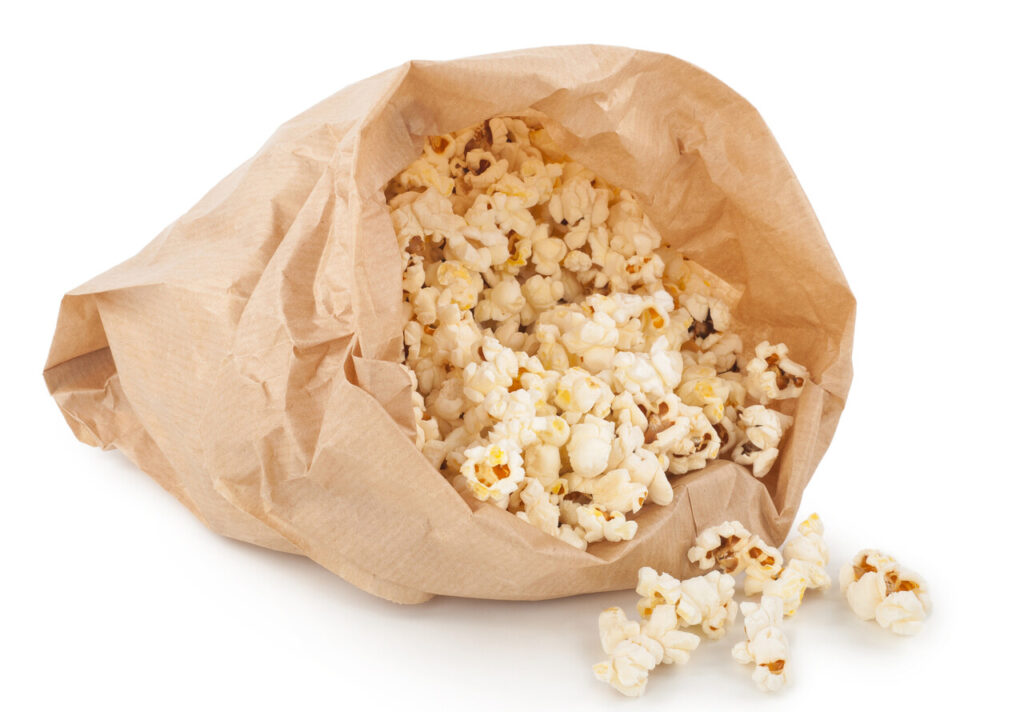
Transforming your caramel corn night into a hassle-free experience starts with the humble brown paper bag. Instead of dirtying bowls or pots, place your popped corn and caramel ingredients directly into a sturdy bag. Shake gently to coat evenly before microwaving. Once finished, you can serve directly from the bag or toss it entirely when done. This simple swap minimizes dishes, keeps counters tidy, and makes cleanup nearly instant, freeing you to focus on enjoying the snack.
2. Microwave in Short Intervals for Even Cooking
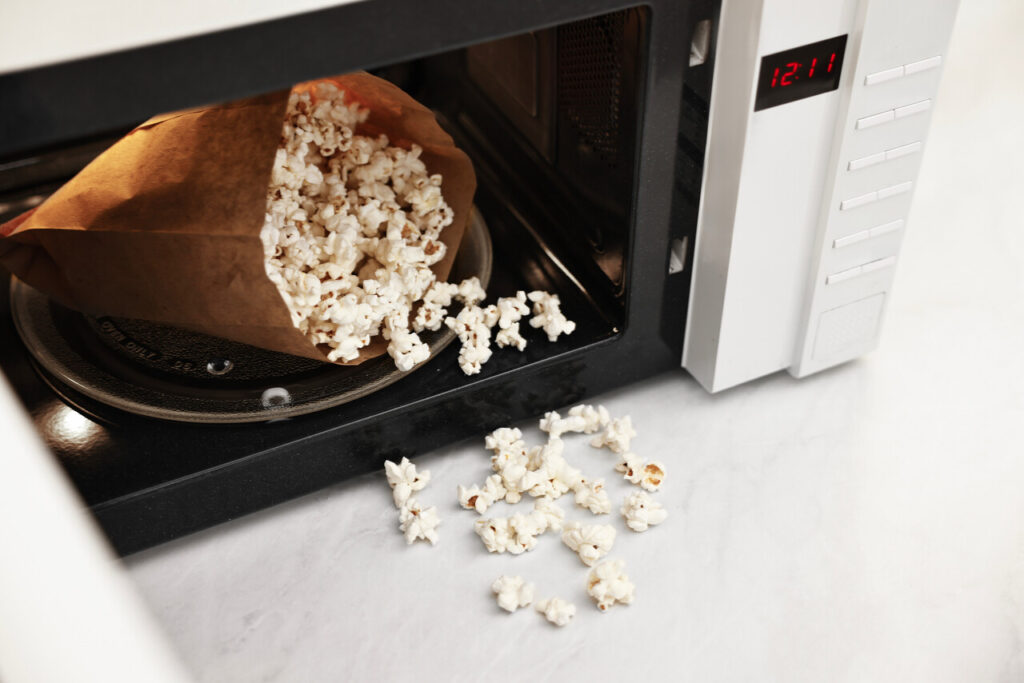
Microwave power can be unpredictable, so breaking your caramel corn cooking into short intervals of one or two minutes prevents scorching. This approach allows the heat to distribute evenly, ensuring your caramel melts smoothly and coats every kernel. After each interval, check and stir to maintain consistency. Short bursts also give you control over the final texture, letting you decide whether you prefer a soft, chewy coating or a slightly crisp layer without risking burnt caramel.
3. Stir Between Intervals to Achieve Smooth Coating
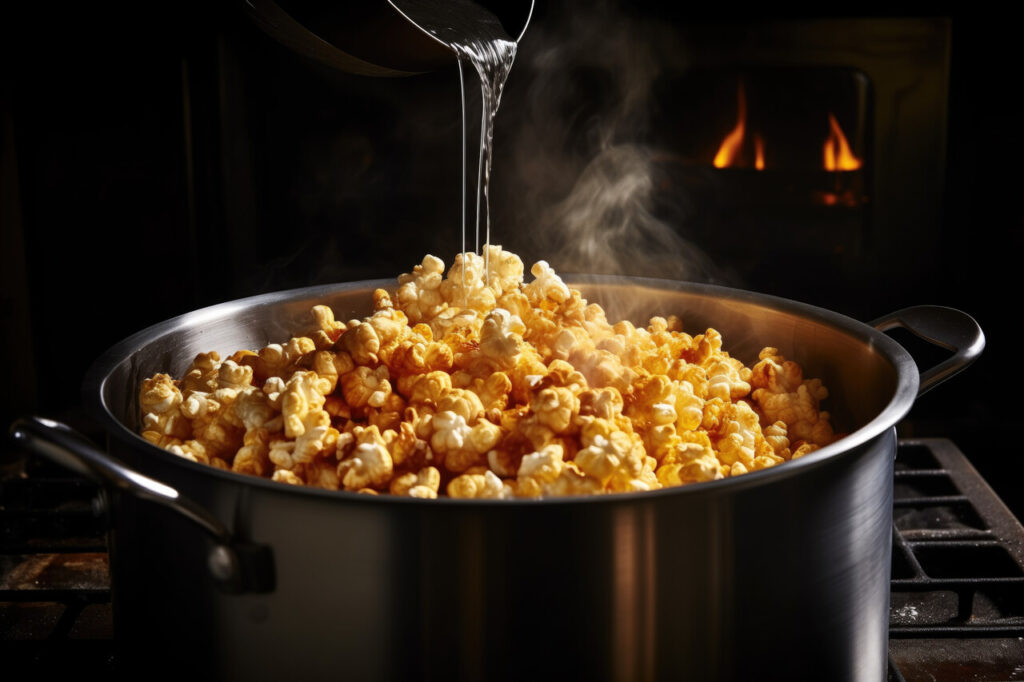
Stirring is a deceptively important step in microwave caramel corn. Each time you remove the mixture from the microwave, gently fold the caramel over the popcorn. This distributes heat, eliminates clumps, and ensures every kernel is evenly coated. Without stirring, some kernels remain underdressed while others burn. A few minutes of intermittent stirring during the microwave process creates a glossy, uniform caramel layer and prevents sticky clumps from forming after cooling.
4. Use a Large Microwave-Safe Bowl to Prevent Overflow
Selecting the right vessel is essential. A generously sized microwave-safe bowl provides ample space for popcorn expansion and prevents caramel from spilling over. Smaller bowls trap steam, which can make kernels soggy and leave an uneven coating. A large bowl also allows easier stirring and mixing mid-process, giving you control over how thickly the caramel adheres. This simple adjustment guarantees both safety and a superior texture for your homemade treat.
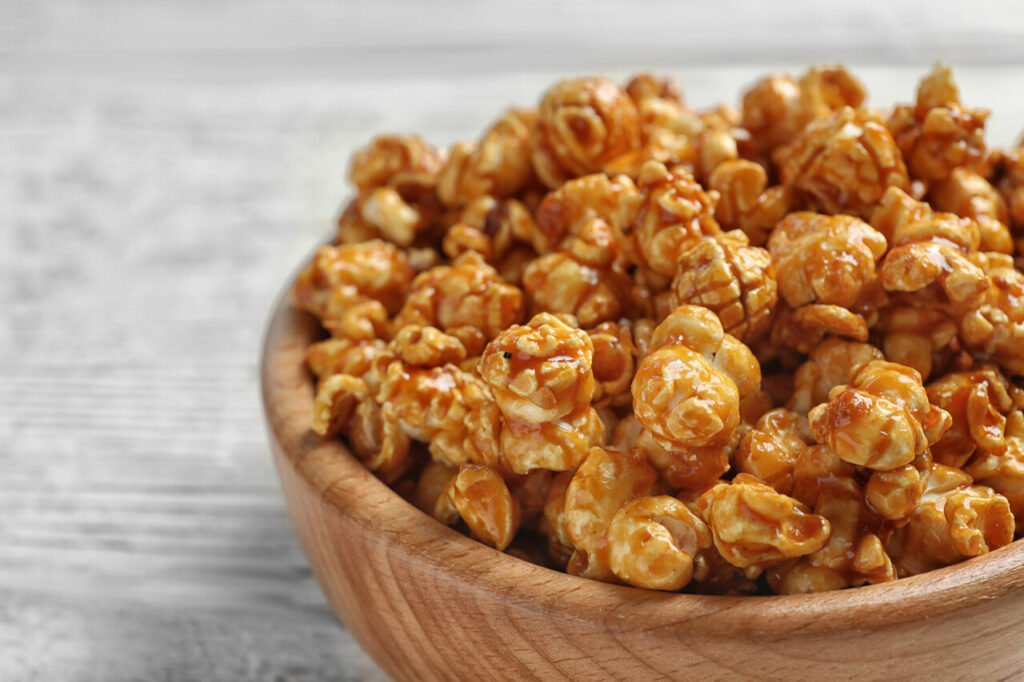
5. Add Baking Soda for a Lighter, Crunchier Texture
A pinch of baking soda works wonders in caramel corn. When added to the hot caramel, it reacts with the sugar to create tiny air bubbles. These pockets give the coating a delicate, crisp structure rather than a dense, sticky shell. The result is caramel corn that snaps pleasantly with each bite yet still melts in your mouth. Baking soda also slightly neutralizes acidity in the caramel, balancing the flavor and enhancing sweetness without overpowering the popcorn.
6. Use Air-Popped Popcorn for a Healthier Base
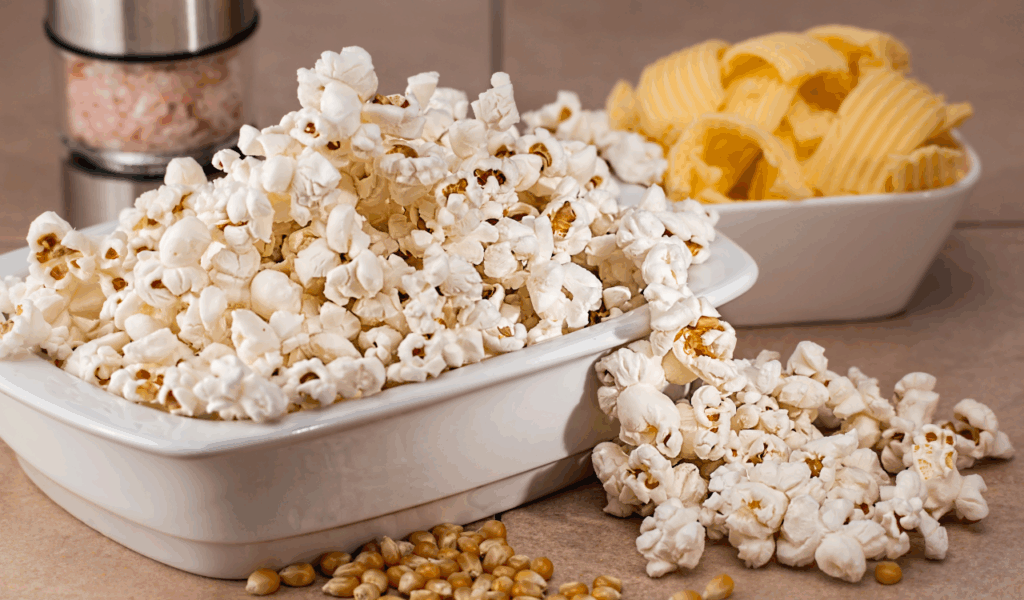
Starting with air-popped popcorn ensures that your caramel coating takes center stage without excess oil or butter weighing down the snack. Air-popped kernels are lighter, crispier, and hold caramel more consistently. They also make it easier to control total fat content, letting you enjoy a slightly healthier treat without sacrificing flavor. Plus, air-popped popcorn allows mix-ins, nuts, chocolate pieces, or spices to adhere better, creating a more balanced and flavorful snack.
7. Line Baking Sheet with Parchment Paper for Easy Release
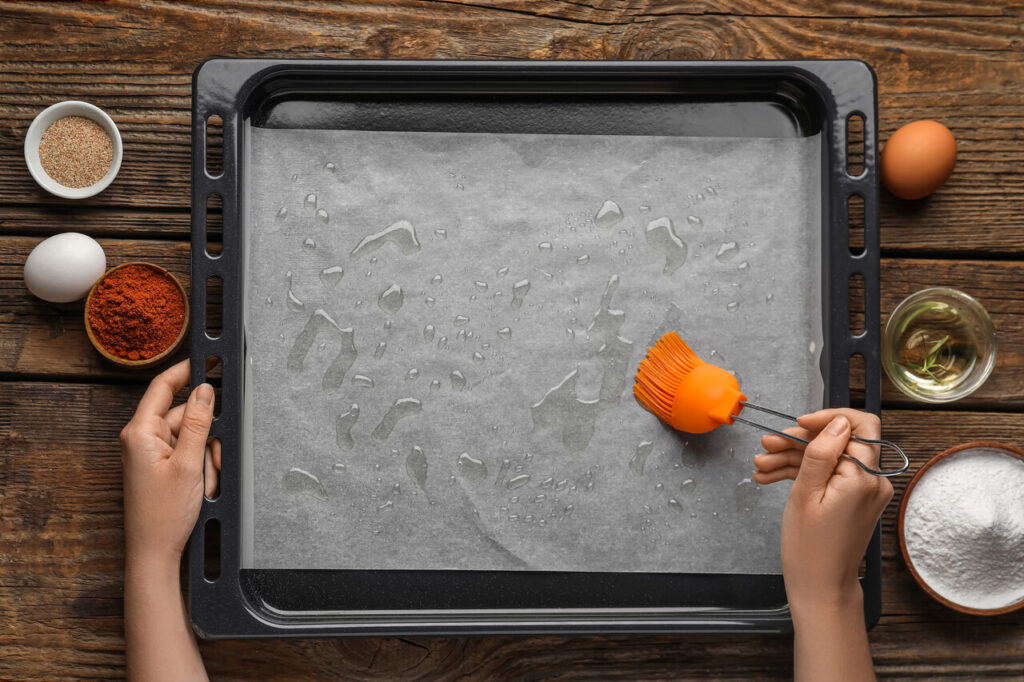
After microwaving, spreading the coated popcorn on a parchment-lined sheet is key. Parchment prevents sticking, preserves the glossy caramel finish, and allows even cooling. Without it, caramel can adhere to the tray, breaking chunks when you try to separate pieces. Lying the popcorn in a single layer and giving it time to cool ensures that each kernel maintains its crisp texture. Cleanup is also effortless; you can simply lift and discard the parchment when finished.
8. Store in an Airtight Container to Maintain Freshness
Once your caramel corn has cooled, transfer it to an airtight container. Exposure to air can make the coating lose its crispness and the popcorn go stale. Proper storage preserves flavor and texture for several days, allowing you to prepare snacks ahead of time for movie nights or parties. If the air is humid, consider adding a small piece of paper towel to absorb moisture. An airtight container ensures that each bite remains fresh, crunchy, and perfectly sweet.
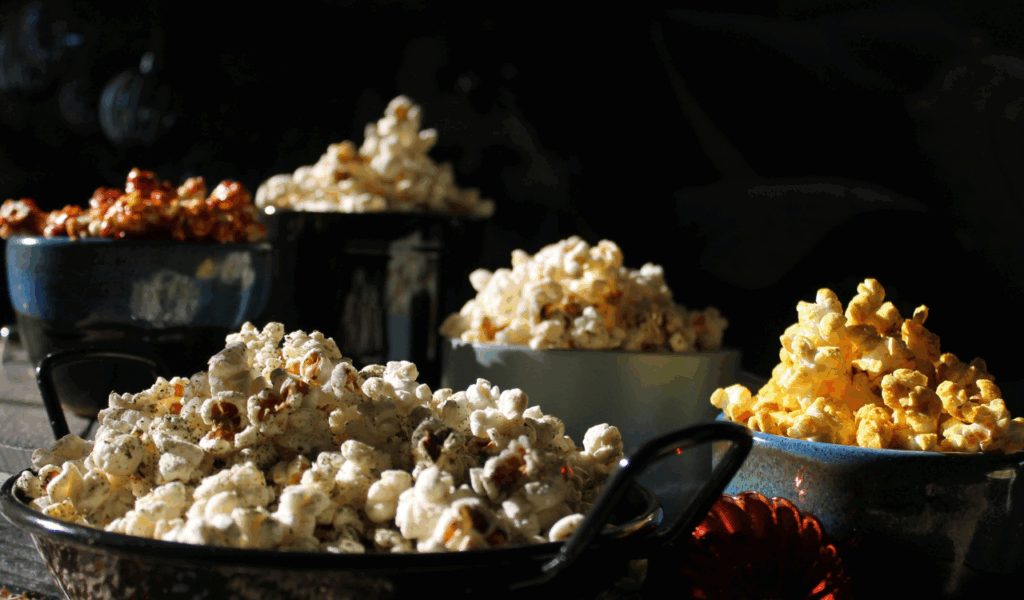
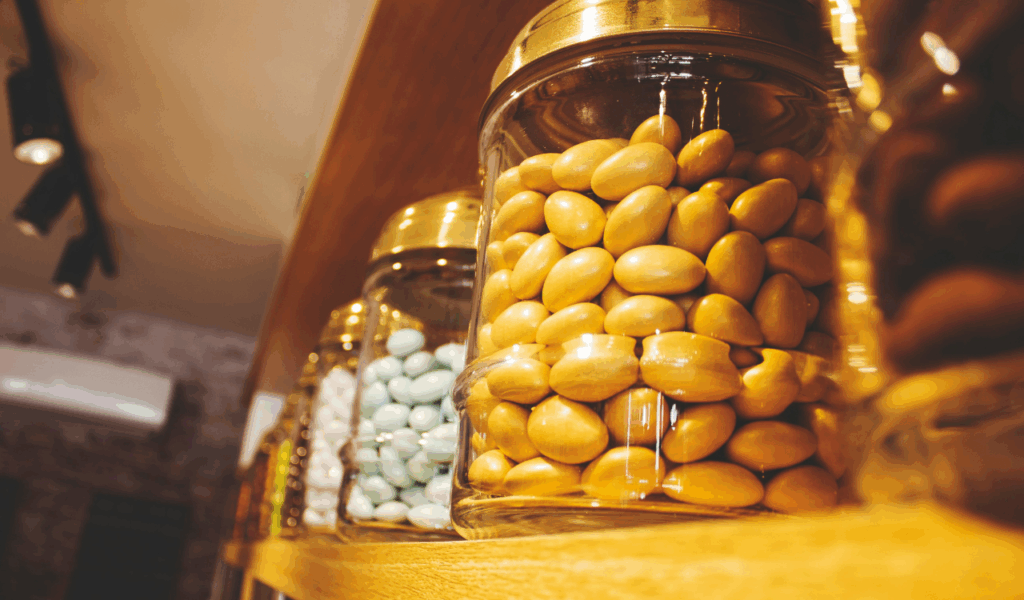
9. Customize with Add-Ins for a Personalized Touch
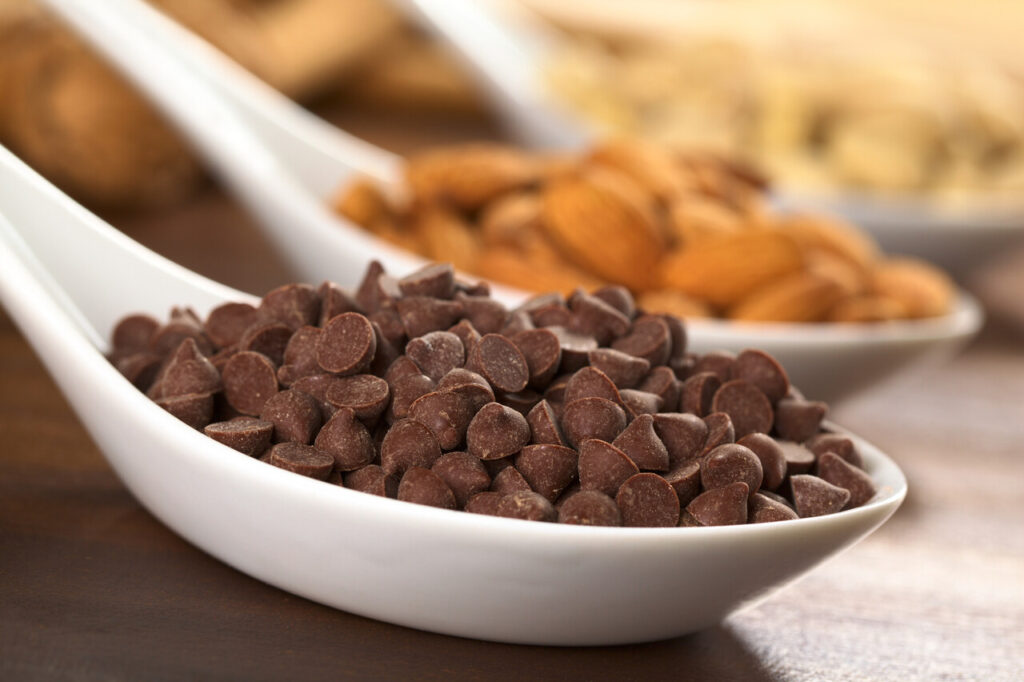
Caramel corn is a blank canvas for creativity. While the classic sweet coating is delicious on its own, adding nuts, chocolate chips, or even a sprinkling of sea salt before the mixture cools elevates both flavor and texture. These mix-ins integrate naturally during the cooling process and give the snack a unique twist each time. Customizing allows you to match your popcorn to seasonal flavors or personal preferences, creating a treat that’s visually appealing, flavorful, and memorable.