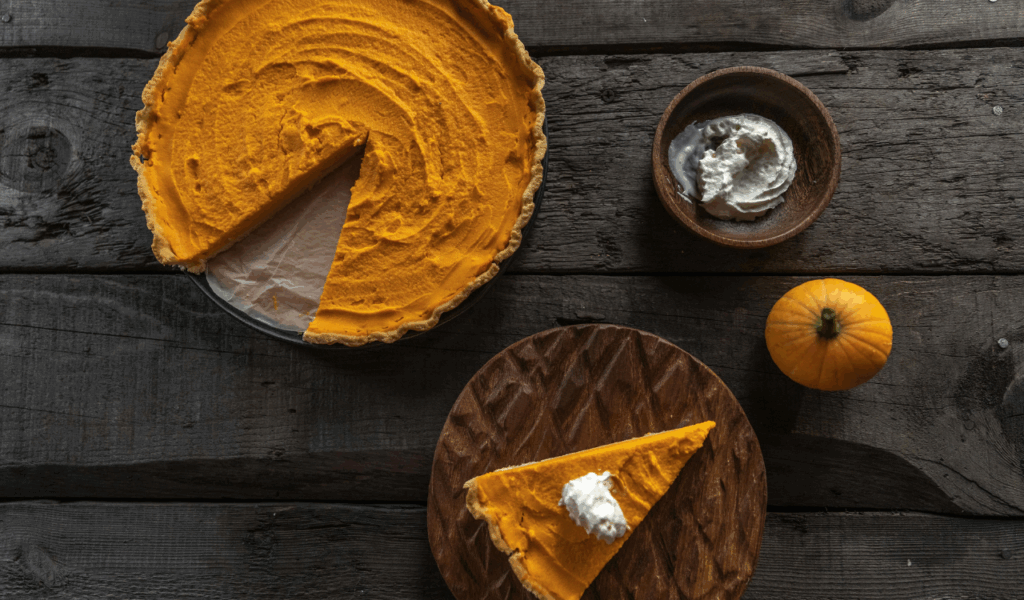
12 Pantry Hacks for Spooky Pumpkin Pies Without the Mess
Pumpkin pie season brings all the cozy flavor, and sometimes, all the sticky chaos that comes with it. But making a showstopping pie doesn’t have to mean a flour-dusted counter or hours of cleanup. With a few clever pantry tricks, you can bake a smooth, flavorful pie that looks bakery-perfect without the stress. From smart ingredient swaps to no-roll crusts and easy toppings, these ideas prove that great pumpkin pie is more about precision than perfection.
1. Use non-dairy milk or eggnog in place of evaporated milk

If you’re trying to cut calories, avoid dairy, or simply want an extra layer of flavor, swap the canned evaporated milk for unsweetened oat or almond milk, or go festive with eggnog. Oat milk adds body that mimics evaporated milk’s creaminess; almond milk thins the custard slightly, so reduce liquid or add one extra tablespoon of cornstarch. Eggnog brings nutmeg and depth, so cut the added sugar by a quarter. Whisk gently and strain the filling to remove any curdling risk. This swap keeps cleanup minimal and can be made with pantry staples.
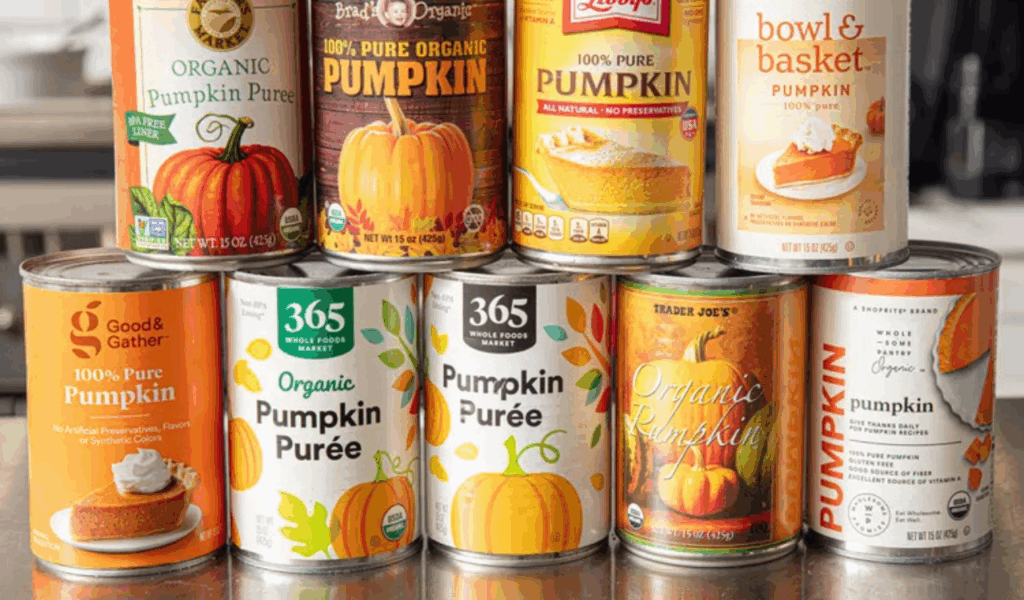
2. Make your own fresh pumpkin purée for deeper flavor
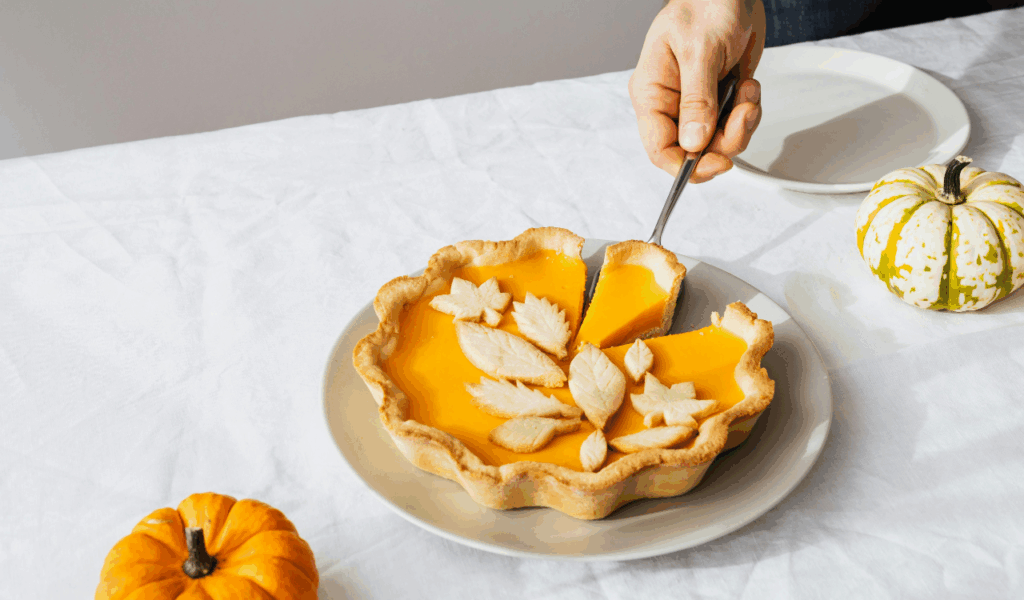
Canned pumpkin is convenient, but roasting and pureeing real pumpkin concentrates sweetness and reduces watery texture. Halve a sugar or pie pumpkin, scoop seeds, and roast cut side down on a sheet pan until soft, roughly 45 to 60 minutes at 400°F, depending on size. Scoop flesh, drain briefly in a sieve if needed, then purée in a blender until smooth. Fresh purée gives better texture and allows you to control moisture so your filling sets reliably without extra straining or thickening agents.
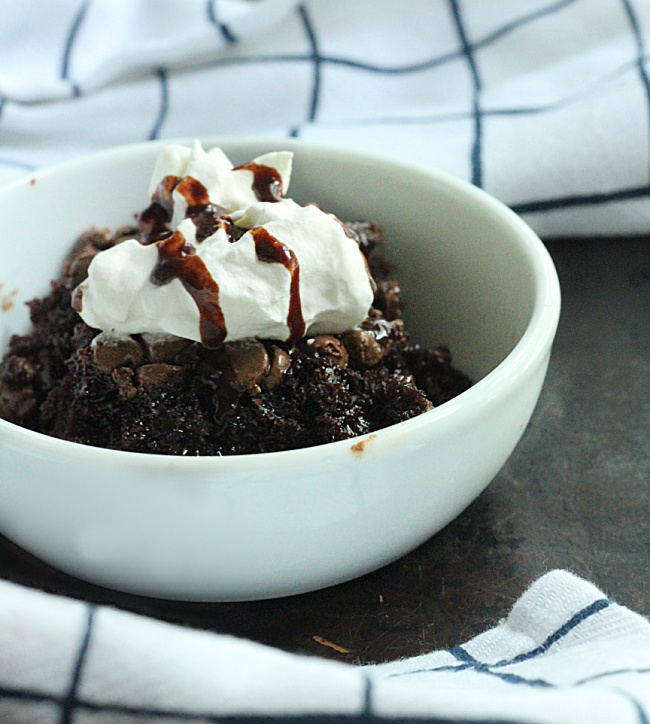
3. Fold in chocolate chips or freshly grated for a subtle twist
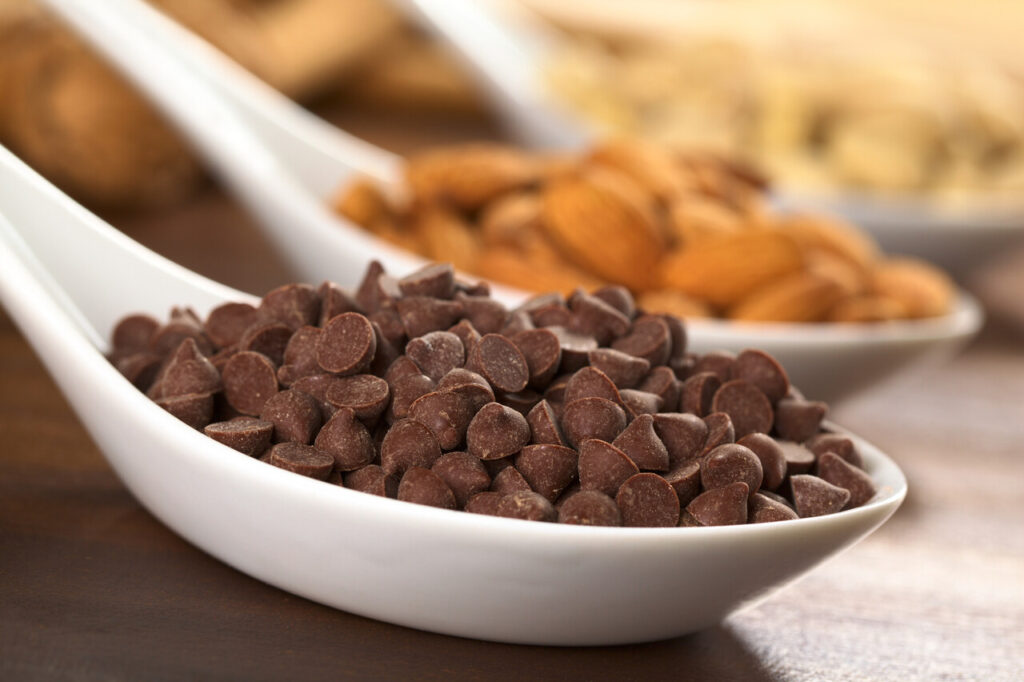
Chocolate and pumpkin are a quiet but satisfying pairing. Stir a half cup of dark chocolate chips into warm filling just off the heat so they melt slightly, or grate a quarter cup of semisweet chocolate into the mix for even distribution. For a ripple effect, reserve a few chips, press them into the top of the pie, and swirl lightly. Use good-quality chocolate with at least 60 percent cocoa for balance; cheaper bars add waxy or overly sweet notes. Cleanup is easy: melt residue washes out quickly with hot water.
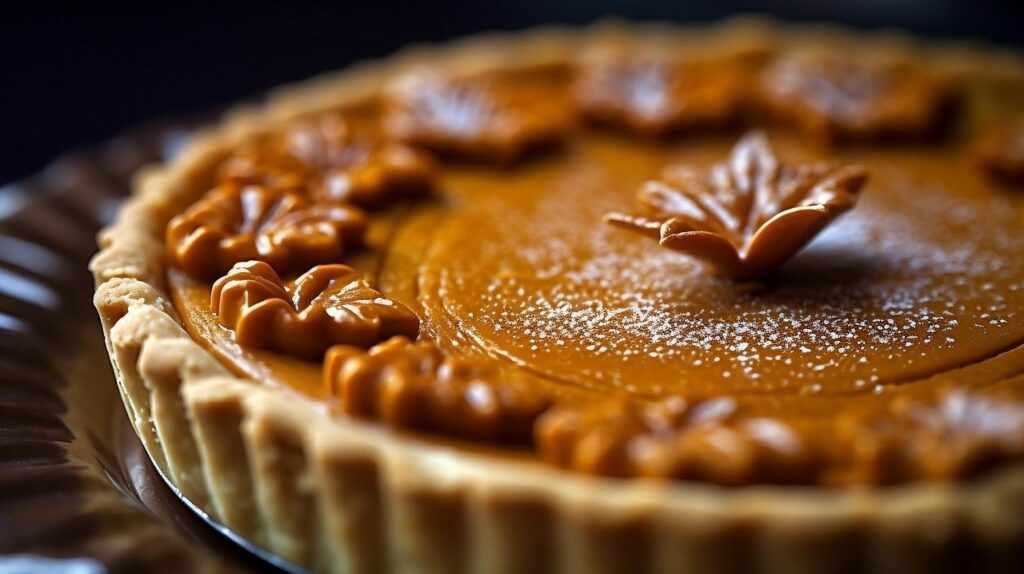
4. Infuse the crust with warming spices for aromatic depth
Instead of only seasoning the filling, fold spices into the crust for an aromatic backbone that perfumes every bite. Add a teaspoon of cinnamon, a quarter teaspoon of ground cardamom, and a pinch of ground cloves to the flour before cutting in butter or to the crumbs before pressing. Spiced crusts pair especially well with maple-sweetened fillings. The technique is fuss-free and keeps the oven time identical, but the payoff is a pie that smells finished before you even slice it, and fewer bowls to wash.
5. Swap pastry for cookie-crumb or gingersnap crusts to skip rolling dough

Crumb crusts save time and reduce surface flour and sticky counters. Blitz gingersnaps, graham crackers, or speculoos in a food processor, mix with melted butter and a tablespoon of sugar, then press into the pan. Bake the crust for 8 to 10 minutes to set before adding filling; this prevents sogginess. Crumb crusts are sturdy, complement pumpkin spice, and eliminate a messy rolling pin step. Store leftover crumbs in a jar for quick single-serving tarts or as a crumble topping.
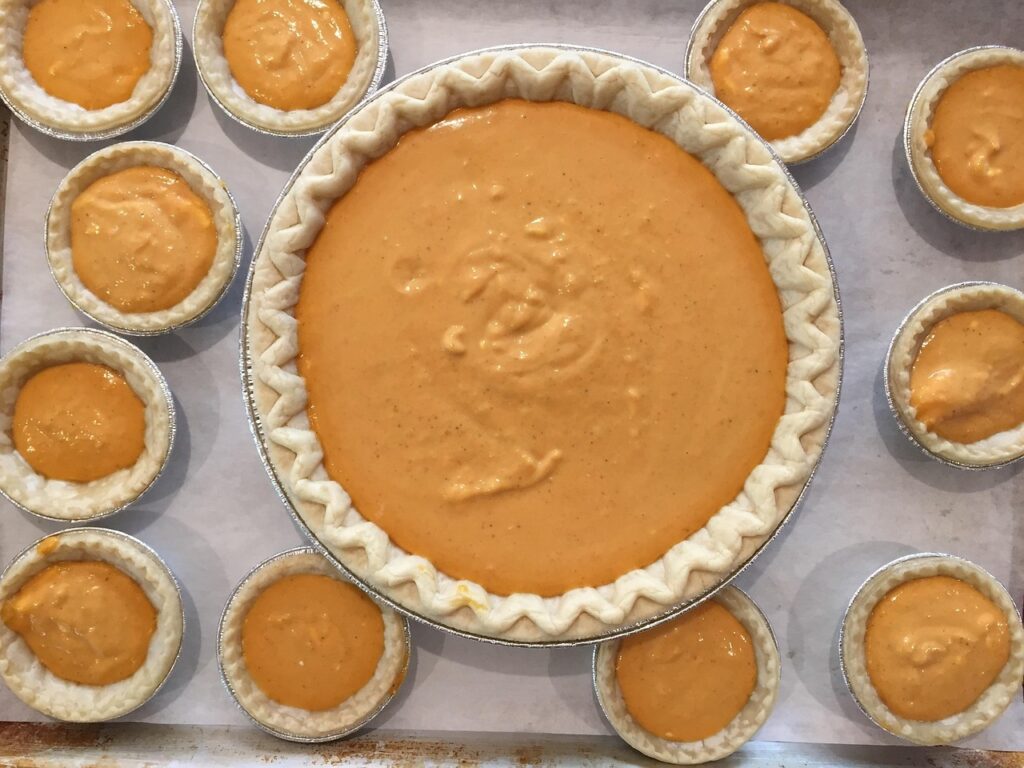
6. Bake the filling in muffin tins or sheet pans for mini pies and bars
If you want portion control and less clean-up, turn pumpkin pie into handhelds. Use a muffin tin with pre-pressed cookie or biscuit cups, or pour filling into a lined sheet pan for bars that cut neatly. Mini pies bake faster, check at 18 to 22 minutes, and bars finish in about 25 to 30 minutes, depending on depth. This scaling reduces oven time, spreads serving duties, and avoids slicing mess. Wrap extras individually and freeze for quick reheating without reheating a full pie.
7. Layer the pie as parfaits so you skip slicing and crumbs
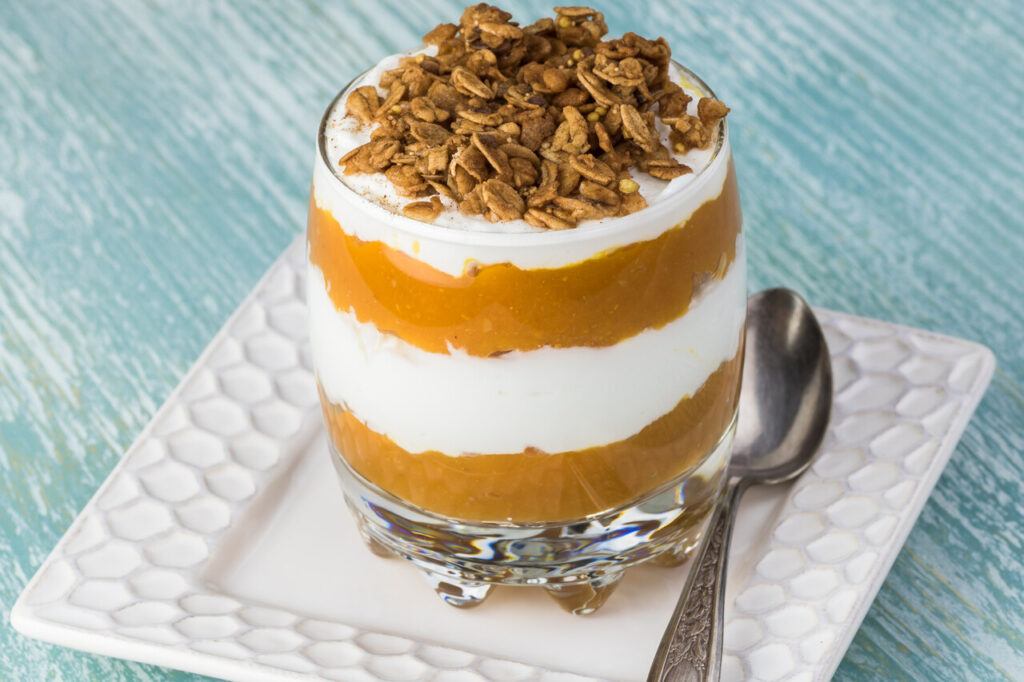
For a no-fuss presentation, build pumpkin parfaits in jars: alternate spoonfuls of spiced pumpkin filling with cookie crumbs, whipped cream, or toasted nuts. Parfaits require no slicing tools, can be assembled ahead, and travel better than a whole pie. Use airtight lids and chill; the custard will retain its texture for a day in the fridge. Parfaits also minimize dirty plates at the table, pick spoons, serve, and recycle the jars or reuse them as storage afterward.
8. Top with mini marshmallows and broil briefly for a toasted finish
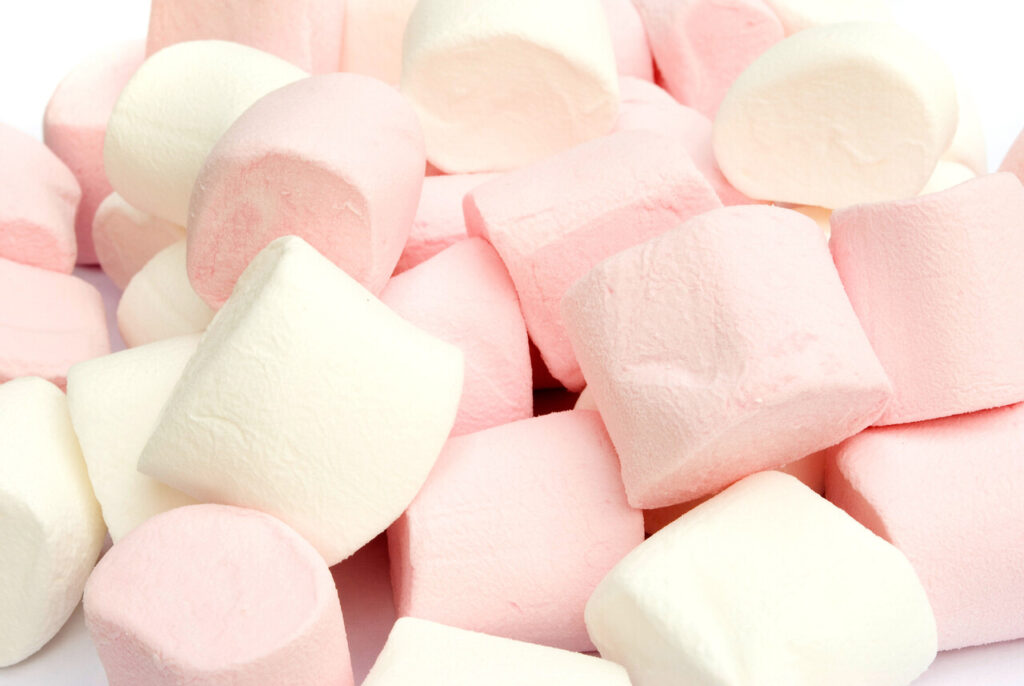
A quick broil brings playful char and marshmallow texture without a torch. After the pie is baked and cooled slightly, scatter miniature marshmallows in a thin layer and set under a high broiler for 20 to 40 seconds, watching closely until they brown. The marshmallow layer browns fast, so stay present and keep the oven door cracked for control. This topping is easier to manage than lattice or meringue, cleans up quickly, and adds theatrical crunch without extra equipment.
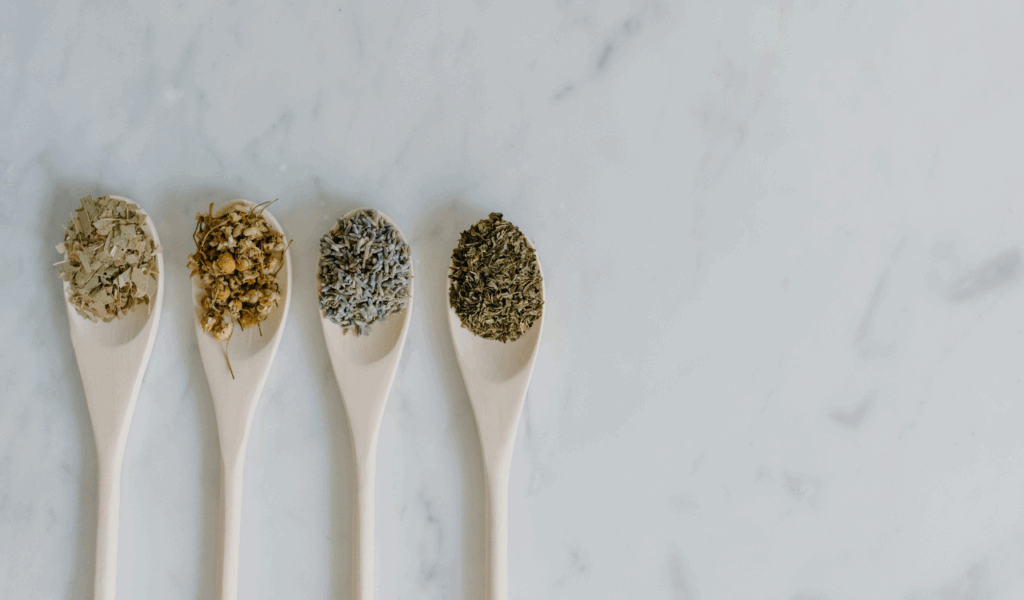
9. Make your own pumpkin pie spice blend and store it in the pantry
Mixing your own spice blend gives control over intensity and freshness. Combine 3 tablespoons ground cinnamon, 1 tablespoon ground ginger, 2 teaspoons ground nutmeg, 1 teaspoon ground allspice, and 1 teaspoon ground cloves. Store in a small jar in a cool, dark pantry for up to six months. Using a fresh blend means you add less powdered volume to the filling and avoid off or dusty flavors that can come from old pre-blended mixes. Keep a labeled jar by the mixer for fast, no-mess seasoning.
10. Roast the pumpkin purée first to reduce moisture and concentrate flavor
Even canned purée benefits from a quick oven cook. Spread purée in a shallow pan and roast at 350°F for 15 to 25 minutes to evaporate excess water and intensify flavor. This step steadies the filling so it sets without adding cornstarch or eggs, and it reduces the chance of weeping after baking. Roasting also caramelizes sugars slightly, improving mouthfeel. Because the purée is already cooked, this is a low-effort step that eliminates watery pies and keeps the kitchen tidy.
11. Blind-bake or par-bake crusts to prevent soggy bottoms
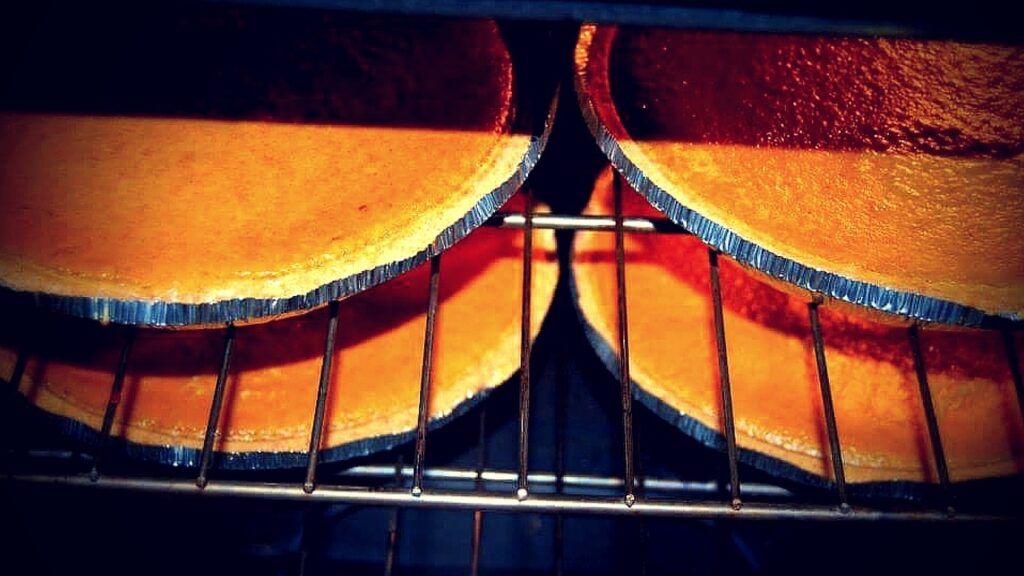
One of the simplest ways to avoid a wet bottom is to pre-bake the crust. Line the crust with parchment, fill with pie weights or dried beans, and bake for 10 to 15 minutes at 375°F until the edges set and the surface looks dry. Remove weights and return for five minutes to firm the base. Let it cool slightly before adding filling. This step creates a moisture barrier so your custard won’t soak the dough, and it cuts down on reheating or crumbly slices later.
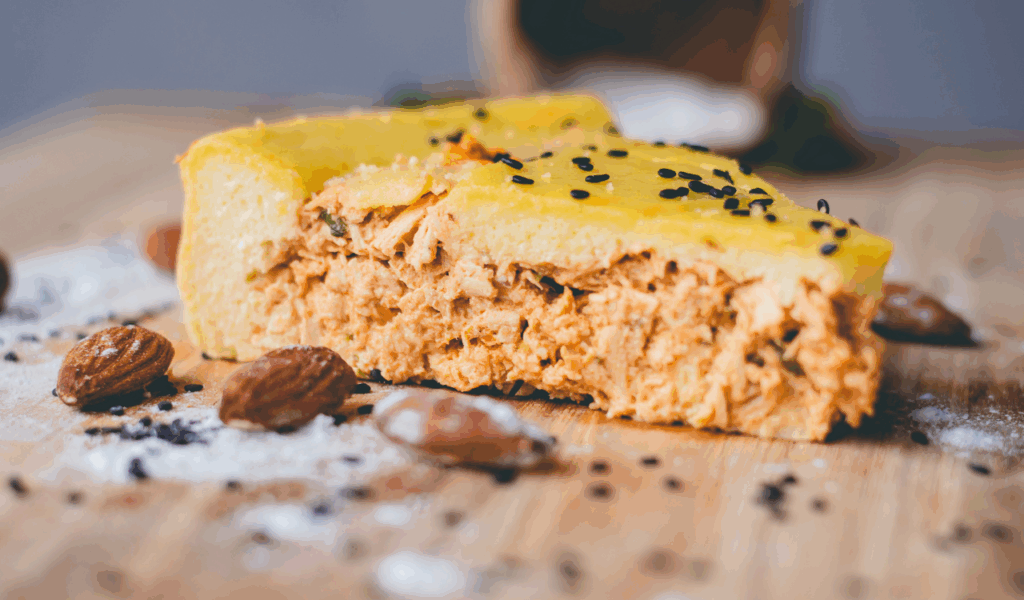
12. Skip a separate crust by using a thickened batter that self-forms a base
If you want truly minimal prep, pour a thicker-than-usual pumpkin batter into an ungreased pie dish; as it bakes, the edges set and create a stable rim that acts like a crust. Use one extra egg or a couple of tablespoons of flour to help structure the base. The result is a custard with a built-in exterior that’s easier to slice and far less likely to crumble all over the table. This approach reduces rolling, fluting, and excess flour on surfaces, making cleanup quick and straightforward.