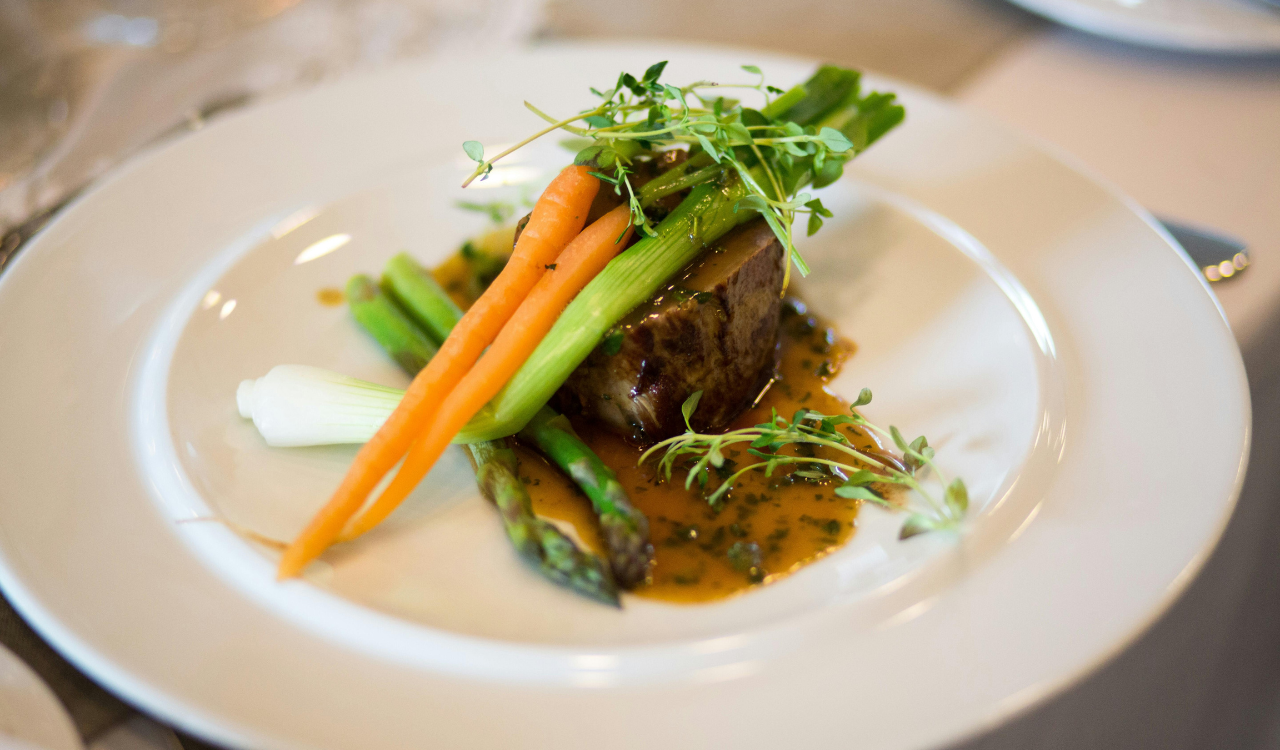
12 Breading Tips That Keep Cutlets Crispy
There is nothing quite like biting into a golden cutlet that stays crisp on the outside while remaining juicy inside. Yet many home cooks struggle with soggy crusts, peeling breading, or greasy results. The secret lies not just in ingredients but also in careful preparation and cooking technique. With a few small adjustments, you can master the art of breading so your cutlets stay crunchy long after they leave the pan. These twelve tested tips will help you achieve professional-level crispness every time.
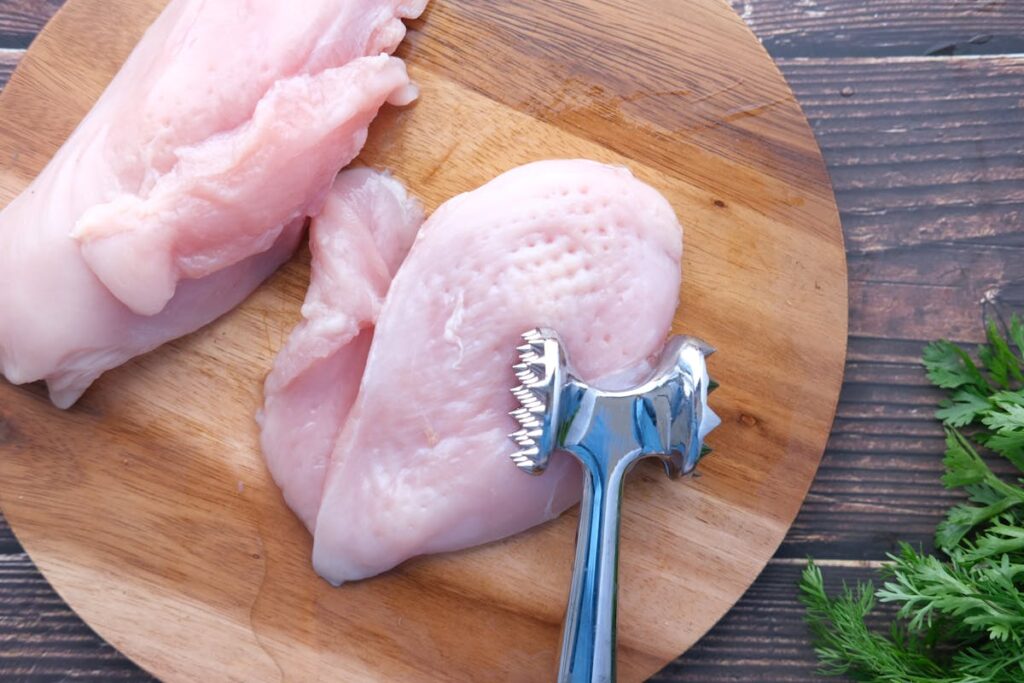
1. Pound to Even Thickness

Flattening cutlets to a consistent thickness of about half an inch ensures even cooking. Uneven cuts often mean thin edges overcook before the center is done, leading to dryness and uneven browning. Using a meat mallet, rolling pin, or skillet helps tenderize while creating uniformity. This reduces cooking time so the breading crisps without drying the meat. A consistent thickness is key to a cutlet that is tender inside and perfectly crunchy outside.
2. Dry Before Seasoning
Moisture weakens breading and prevents crust from sticking. Always pat cutlets dry with paper towels before seasoning. A damp surface causes steam, leading to soggy breading that slips away during cooking. Removing excess water helps flour adhere better, and seasoning afterward allows flavor to lock in. This step may seem simple, but it creates the foundation for a crisp crust. Dry meat combined with well-applied seasoning means layers will cling tightly and crisp beautifully during frying or baking.
3. Set Up a Proper Breading Station
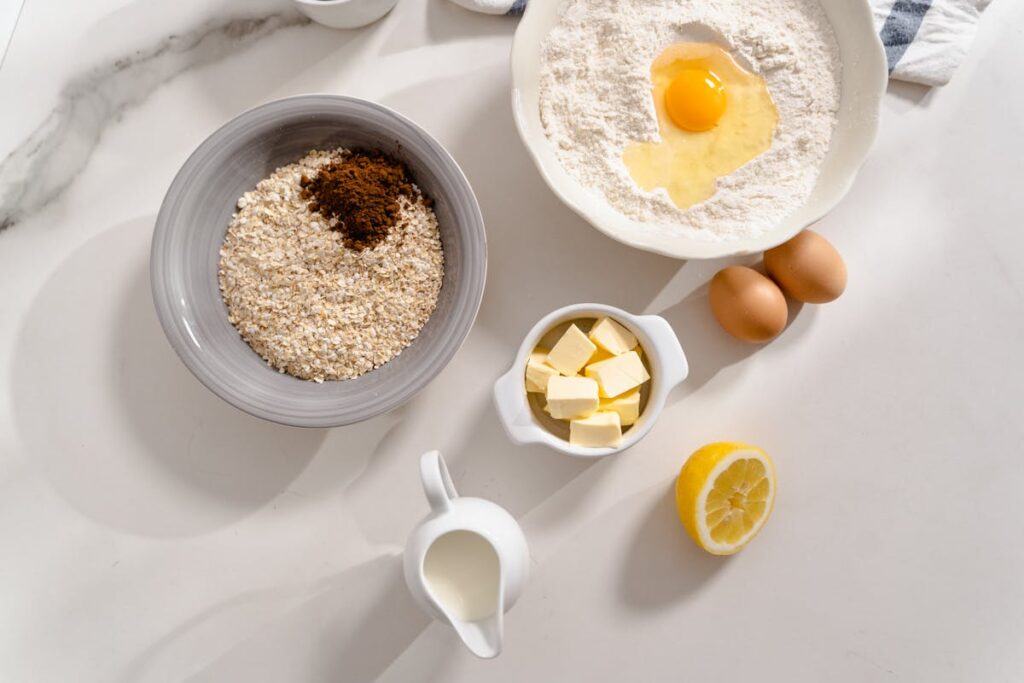
An organized breading station ensures consistency and efficiency. Use three shallow bowls: one for flour mixed with salt and pepper, one for beaten eggs or a milk-egg blend, and one for breadcrumbs. Coat each cutlet in flour, then egg, then crumbs, working with one at a time. This order locks each layer in place and prevents clumping. A tidy setup minimizes mess and maximizes adhesion, giving every cutlet a thick, even coating that fries into a crisp golden crust.
4. Use Both Flour and Egg Wash
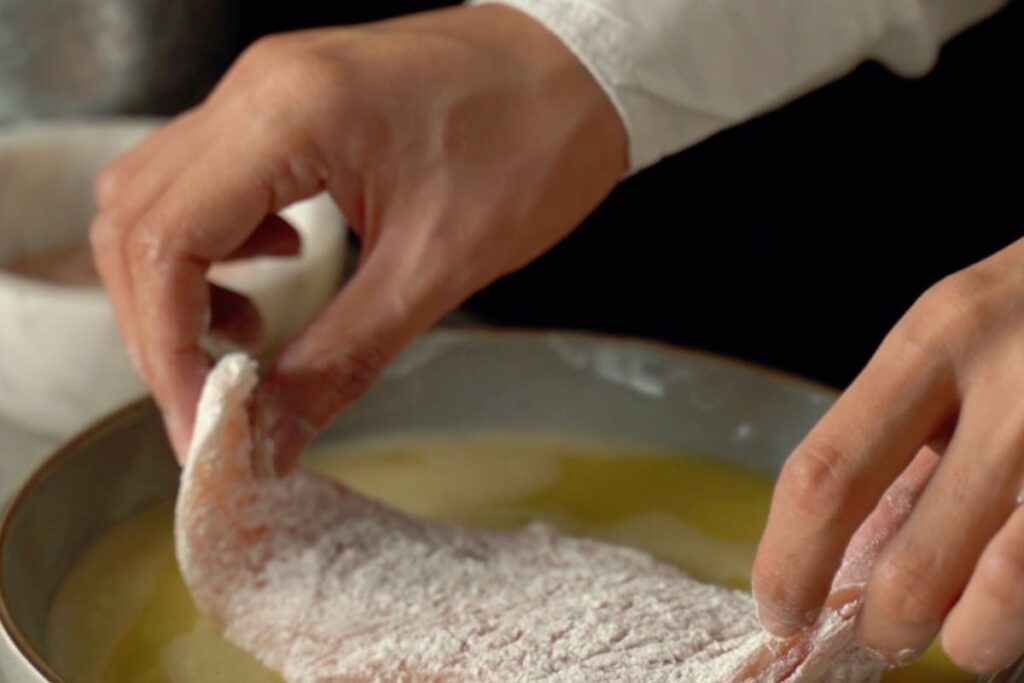
Flour and egg wash create the essential foundation for a lasting, crisp breading. First, the flour lightly coats the cutlet, giving the egg something to cling to without sliding off. The egg then works as a natural adhesive, allowing breadcrumbs to stick firmly and evenly across the surface. Skipping the flour step often results in patchy breading that falls away during cooking. For best results, coat lightly with flour, shake off the excess, dip in beaten egg, then press gently into crumbs to form a sturdy three-layer crust.
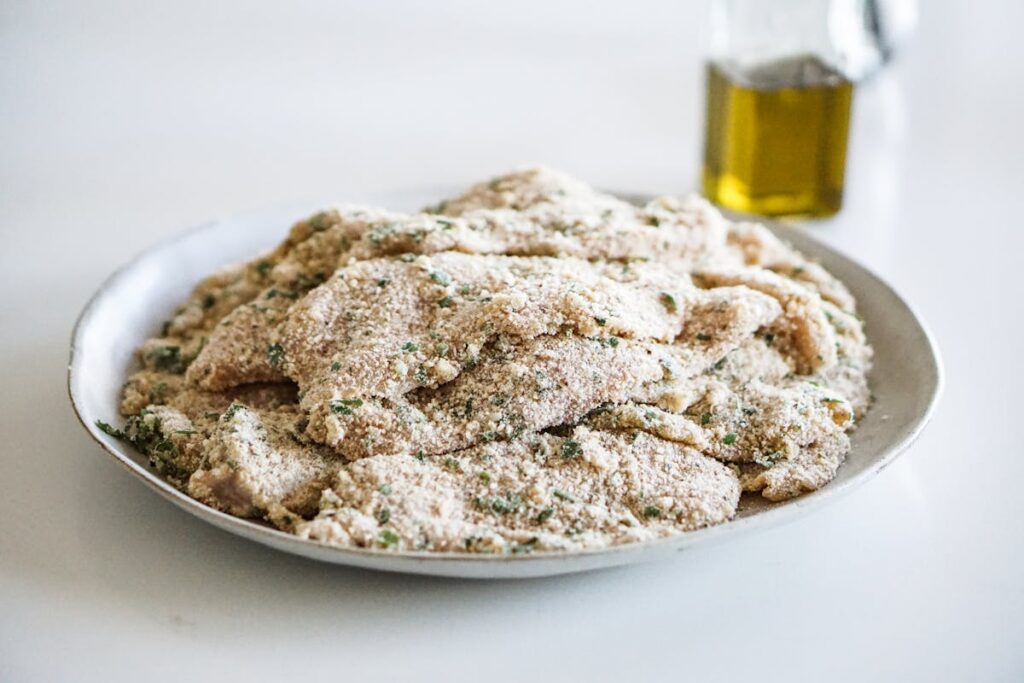
5. Season Every Layer
Seasoning should extend beyond the meat to every breading layer. Add salt, pepper, herbs, or spices to the flour, egg wash, and breadcrumbs to ensure consistent flavor in every bite. Seasoned crumbs not only taste better but also brown more evenly, creating an appealing golden crust. When each layer is properly seasoned, the cutlet gains depth of flavor, turning the crispy exterior into more than texture alone, while enhancing the juicy, tender meat inside for a perfectly balanced, flavorful result.
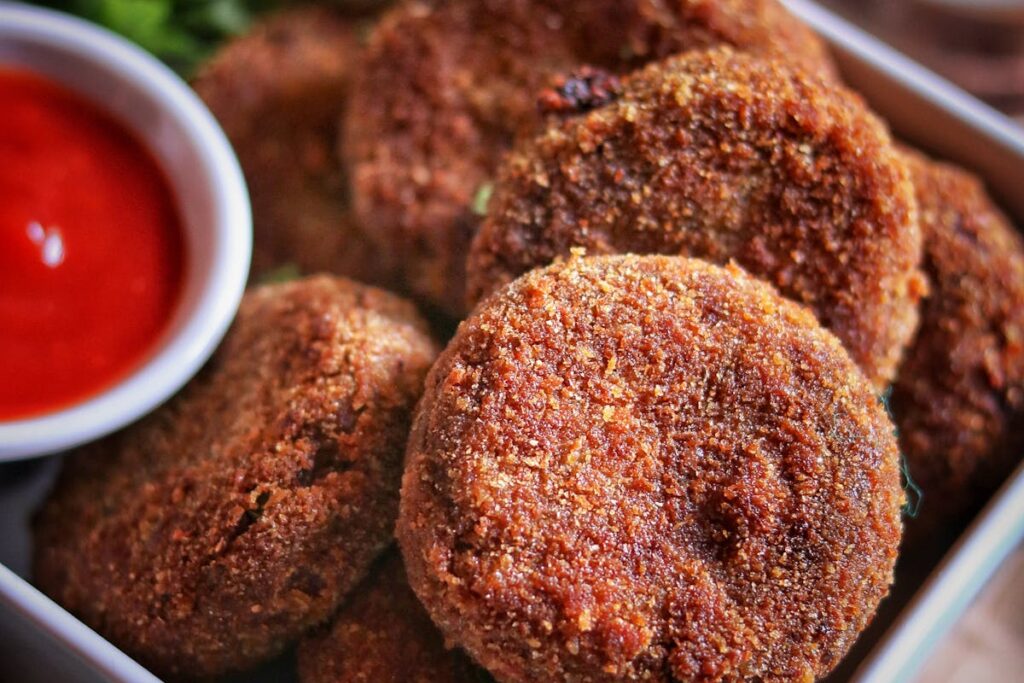
6. Use Coarse Breadcrumbs or Panko
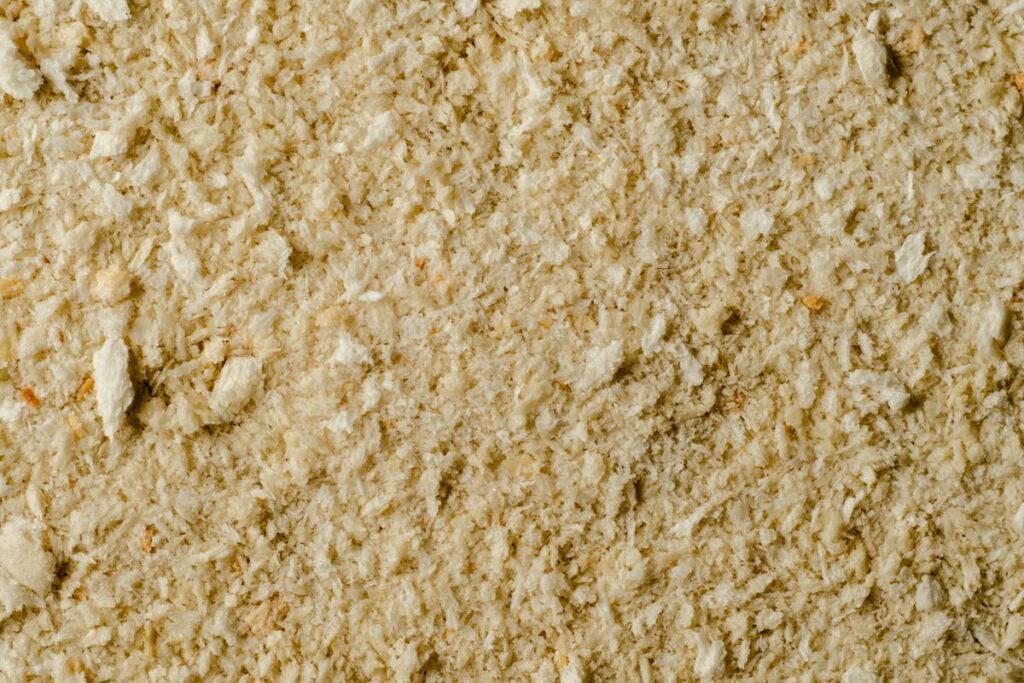
Coarse crumbs or Japanese-style panko create air pockets that crisp beautifully when cooked. Unlike fine breadcrumbs, which compress and turn soggy, panko provides lightness and crunch. Mixing coarse and fine crumbs can balance structure and coverage. Adding grated cheese or crushed nuts can boost texture further. Choosing the right crumb type ensures cutlets develop a crispy, crackly surface that stays intact while keeping the meat juicy inside.
7. Let the Breading Rest Before Cooking
After breading, let cutlets rest on a wire rack for at least ten minutes. This pause allows the coating to adhere securely before hitting hot oil or the oven. Without resting, breading may shift or peel during cooking. Resting also helps moisture stabilize within the meat and crust, promoting even browning. This simple step ensures a firm, intact coating and transforms the cutlet’s exterior from fragile to perfectly crisp while maintaining juicy, tender meat inside.
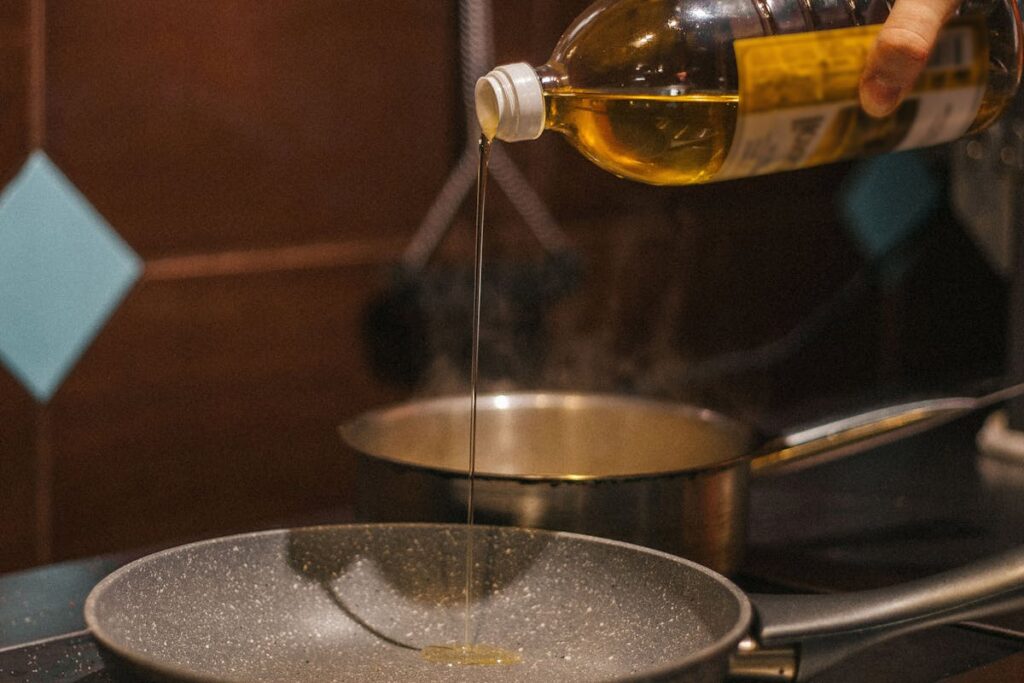
8. Heat Oil to the Right Temperature
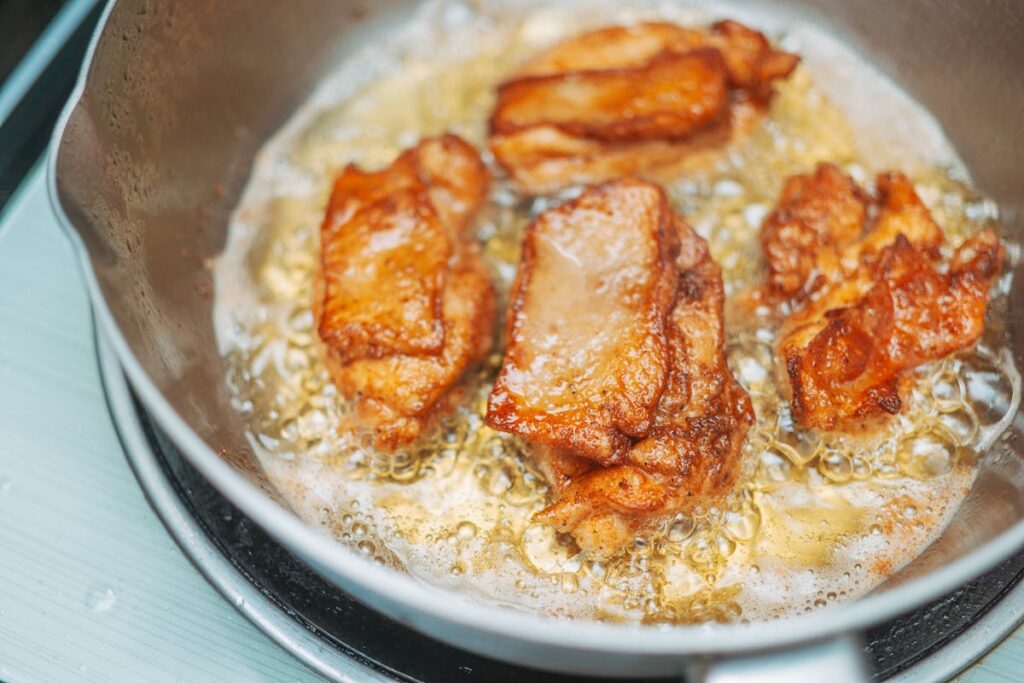
Oil that is too cool produces greasy, limp cutlets, while oil that is too hot burns the crust before the meat is cooked. For frying, aim for 175 to 190 degrees Celsius, or 350 to 375 degrees Fahrenheit. A thermometer provides accuracy, though you can test with a breadcrumb that should sizzle immediately. Keeping oil at the right temperature ensures quick sealing of the crust, minimal oil absorption, and a beautifully crisp cutlet every time.
9. Don’t Overcrowd the Pan
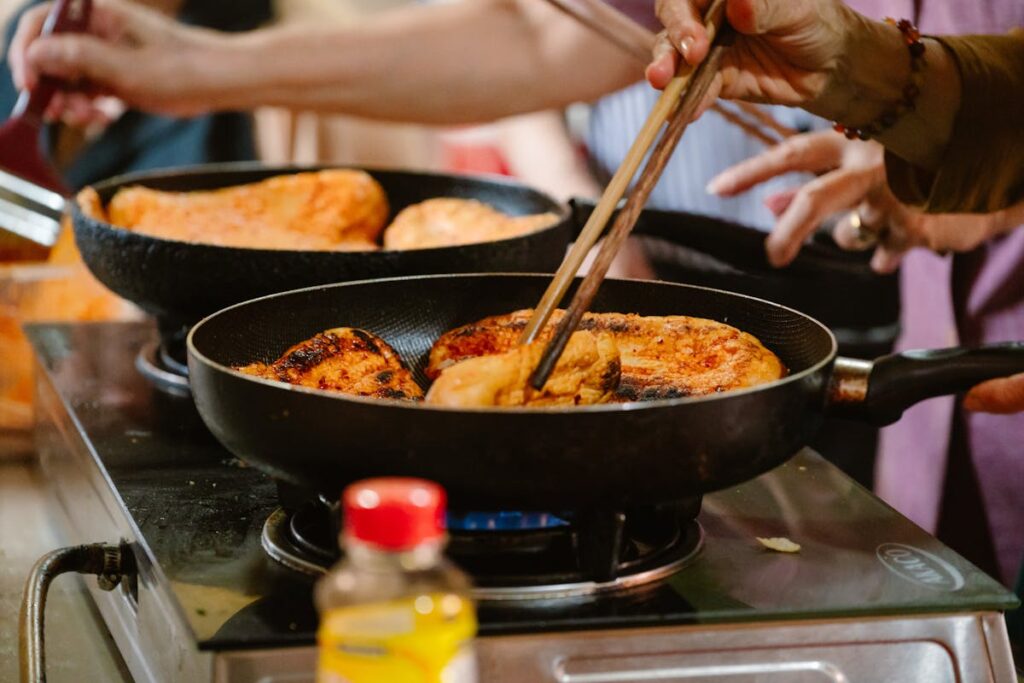
Cooking too many cutlets at once lowers the oil temperature and traps steam, preventing crisping. Always leave enough space between pieces so heat circulates. Fry in small batches and allow the oil to return to temperature before adding more. Overcrowding not only makes breading soggy but also slows cooking, leading to uneven doneness. A spacious pan, or working in batches, guarantees every cutlet emerges golden, crunchy, and evenly cooked from edge to edge.
10. Drain Properly After Cooking
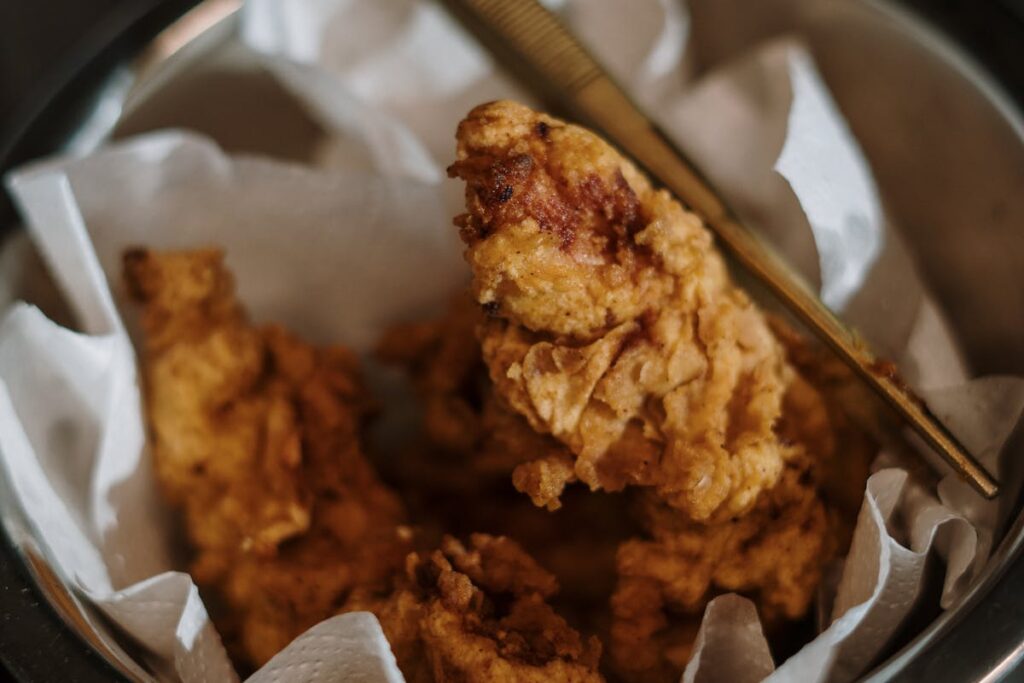
Placing fried cutlets on paper towels traps steam, which softens the bottom crust. To maintain crispness, transfer them to a wire rack over a baking sheet so air can circulate freely. This setup lets excess oil drip away while keeping both sides crunchy. If only paper towels are available, blot briefly and then move the cutlets to a rack. Proper draining prevents sogginess and preserves the golden, crisp texture until serving, ensuring every bite remains satisfying.
11. Serve Immediately or Keep Warm on a Rack
Crispness diminishes as cutlets sit, so serve them immediately whenever possible. If holding is necessary, place the cutlets on a wire rack in a low oven set to about 95 °C (200 °F). Avoid covering or stacking them, because trapped steam will soften the crust. Using this method keeps the cutlets warm and maintains crispness for up to thirty minutes, though freshly cooked cutlets always provide the best texture and flavor with a crunchy exterior and juicy interior.
12. Try Baking or Air Frying with Oil Spray
Baking or air frying can yield crisp cutlets without deep frying, but a light coating of oil is important. Spray or brush both sides of the breaded meat before cooking to promote even browning. Arrange cutlets on a rack or leave space between them to allow airflow. These methods create a lighter crust, but the added oil enhances color and crunch, giving a golden, satisfying texture. This approach offers a healthier alternative without sacrificing the crispiness that makes cutlets so enjoyable.