9 Fermentation Basics for Home Experimenters
Not only is fermentation an age-old method of preservation, but it’s also a tasty, dynamic science that takes place in your kitchen. Fermentation enables you to turn common ingredients into probiotic-rich, gut-friendly, and incredibly fulfilling foods, such as tart sauerkraut and bubbly kombucha. Knowing the fundamentals ensures safe, effective, and delectable results whether you’re a novice or trying to advance your skills. Every home experimenter should be aware of these nine crucial fermentation tips.
1. Understand What Fermentation Really Is
In the natural process of fermentation, microorganisms like yeast or bacteria change sugars into other substances like alcohol, gases, or acids. This process improves food’s flavor and nutritional value in addition to preserving it. Beneficial bacteria produce a tangy flavor and prevent spoiling in lactic acid fermentation, which is common in pickles, yogurt, and kimchi. To learn fermentation safely at home, you must first understand that it is a regulated microbial ecosystem.
2. Always Start with Clean Equipment
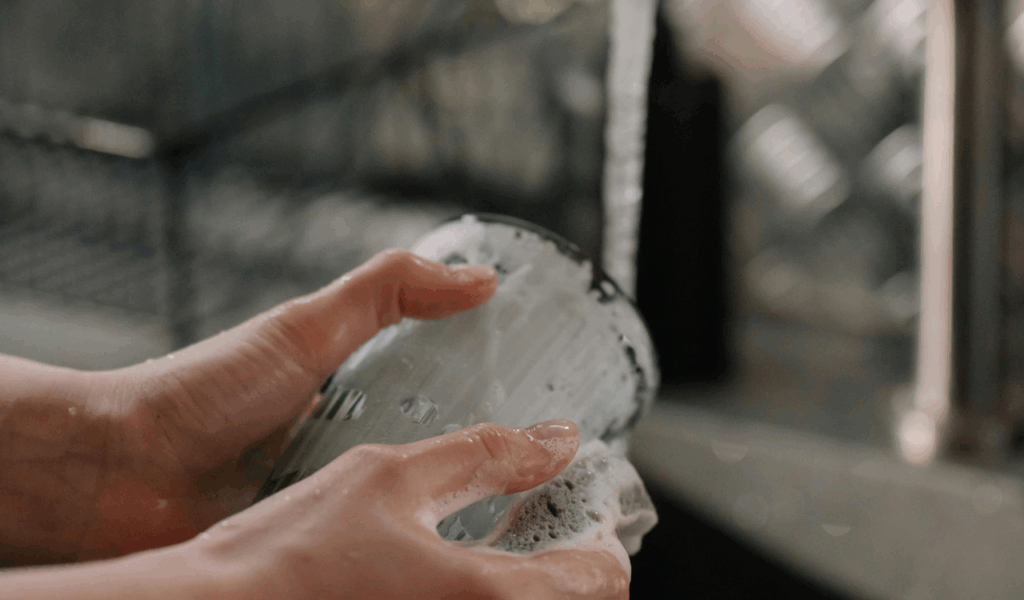
Cleaning is crucial for fermentation, but sterility is not. Unclean jars or equipment can introduce dangerous microorganisms that ruin your batch or even render it dangerous. Rinse well after washing all containers, cutting boards, and utensils in hot, soapy water. Glass jars can be cleaned in a hot dishwasher cycle or with boiling water. Your ferments will remain safe and delicious if you use clean tools, which create an environment where good microbes can flourish and outcompete the bad ones.
3. Use Non-Iodized Salt for Brine-Based Ferments
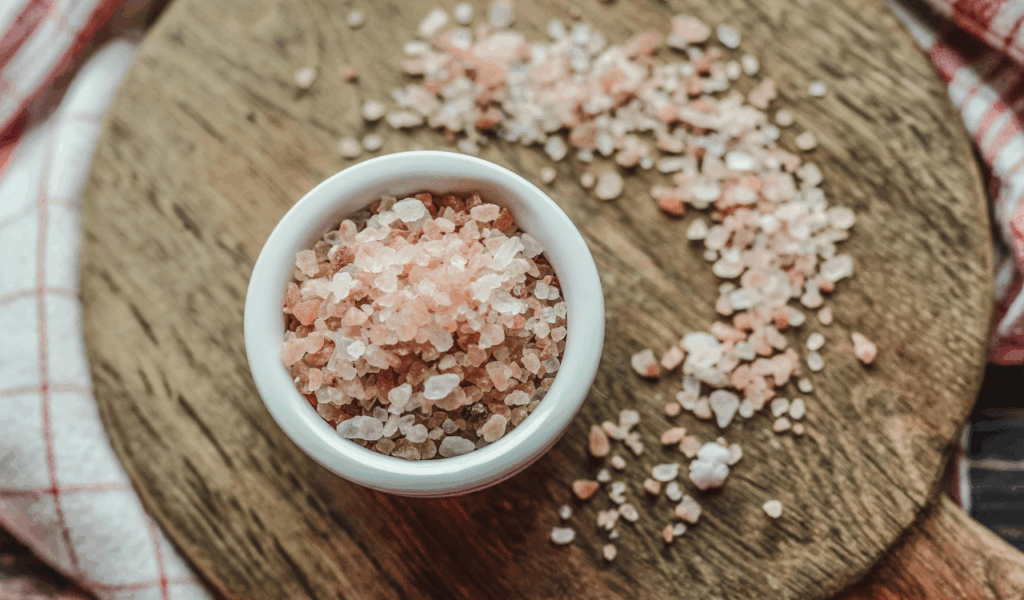
In fermentation, salt is essential because it fosters the ideal conditions for beneficial bacteria while discouraging harmful ones. However, not all salt is created equal. Steer clear of iodized table salt, which can disrupt bacterial activity and produce erratic outcomes. Use non-iodized alternatives, such as pickling salt or sea salt, instead. They offer a clean flavor and dissolve easily. Proper salting aids in drawing out moisture and properly starts fermentation in brined ferments, such as cabbage or cucumbers.
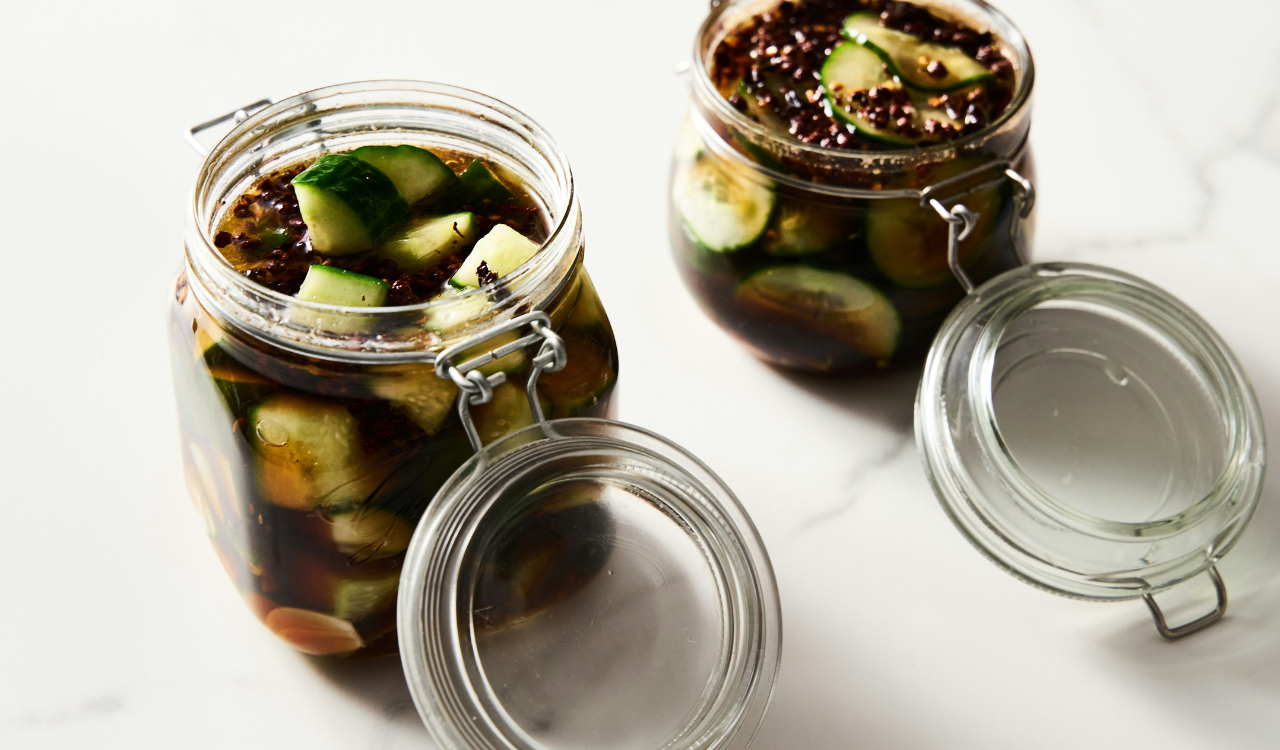
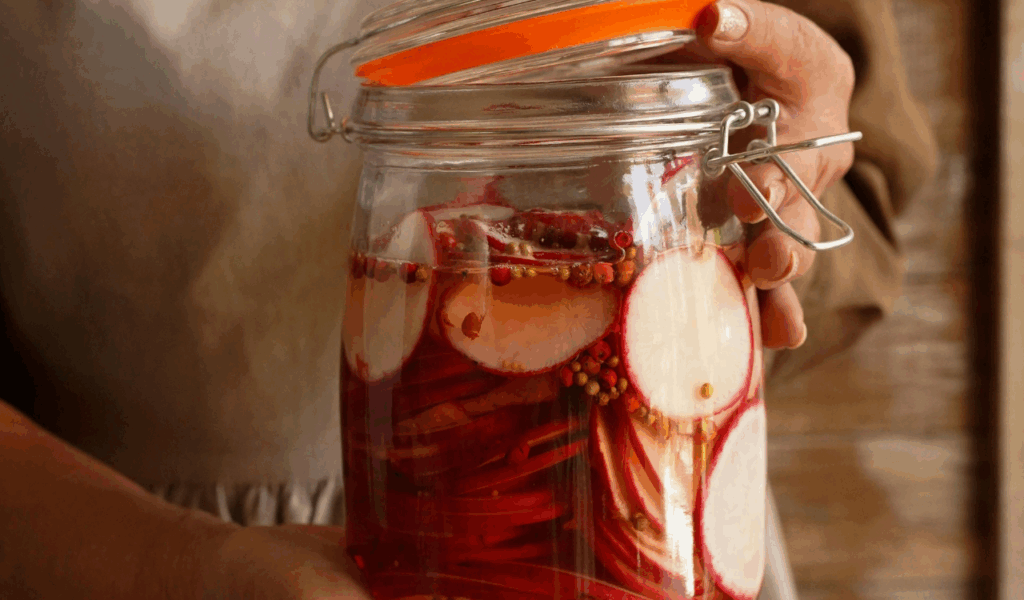
4. Keep Oxygen Out for Anaerobic Fermentation

Many ferments, such as kimchi, pickles, and sauerkraut, require an oxygen-free (anaerobic) environment. Mold or spoiling may result from air exposure. Keep vegetables in the brine by using weights, and cover jars with lids, fermentation caps, or airlocks that allow gas to escape while keeping air out. Lactic acid bacteria thrive in this environment, safeguarding your food. Keep in mind that submerged means safe. Yeast or mold can grow on anything above the brine.
5. Temperature Control Matters More Than You Think

Temperature affects fermentation. The majority of lacto-ferments do best at temperatures between 65 and 75°F (18 and 24°C). If it’s too hot, you run the risk of destroying good bacteria or promoting spoiling; if it’s too cold, the process slows down significantly. Keep your fermenting jars out of direct sunlight in a cool, dark location, such as a pantry or cupboard. Check frequently, particularly in warmer climates. Predictable fermentation times and balanced flavor development are made possible by maintaining constant temperatures.
6. Taste Test, Don’t Time-Watch
Room temperature, salt content, and individual taste preferences all affect fermentation times. Following recipes too closely is a common error. Trust your senses instead. As soon as your ferments begin to bubble or smell, taste them every day. Give it more time if it’s too raw or salty. It is ready if it has a balanced, tangy flavor. Your palate is the best instrument for determining when fermentation is just right because it is flexible.
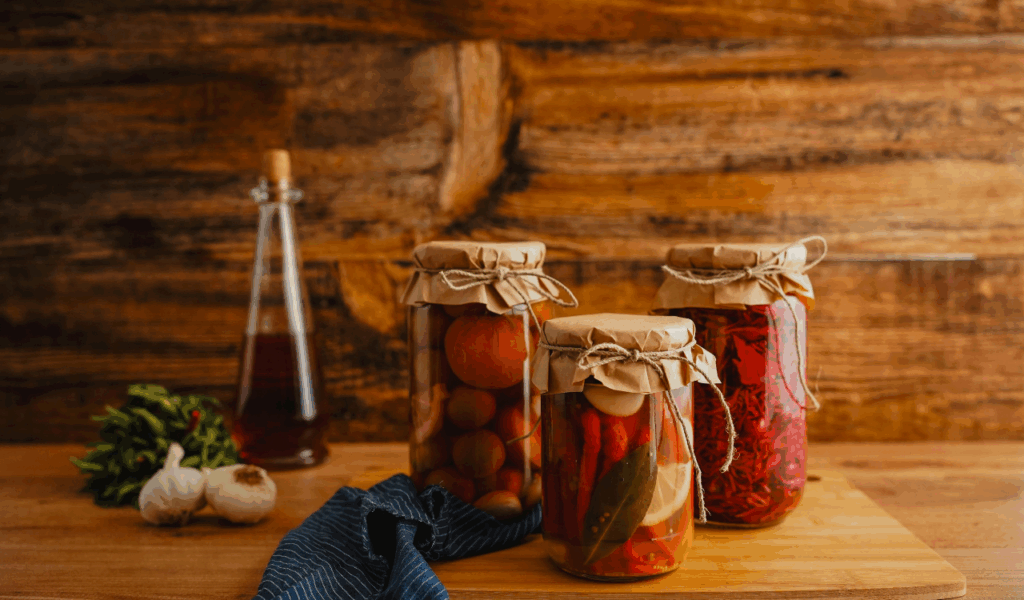
7. Use Glass or Ceramic, Not Metal or Plastic
Both safety and flavor are impacted by the container you use for fermentation. Because they are non-reactive and simple to clean, glass and food-grade ceramic are the best options. Steer clear of metal, particularly copper or aluminum, as these can react with acids and damage your food and microorganisms. Chemicals can also leak from plastic containers, particularly if they are worn out or scratched. The safest and best options for fermenting at home are clean ceramic bowls, fermentation crocks, or mason jars.
8. Watch for Signs of Trouble, but Don’t Panic
Common and generally innocuous, white film (also known as kahm yeast) can be scraped off. On the other hand, mold, particularly fuzzy or brightly colored, indicates that the batch should be thrown out and started over. Problems can also be indicated by sliminess, pink discoloration, or off smells. However, not all bubbling, cloudiness, or sour aromas indicate a problem; in fact, they are frequently indicative of a healthy fermentation process. Part of the process involves learning to distinguish between benign eccentricities and serious problems.
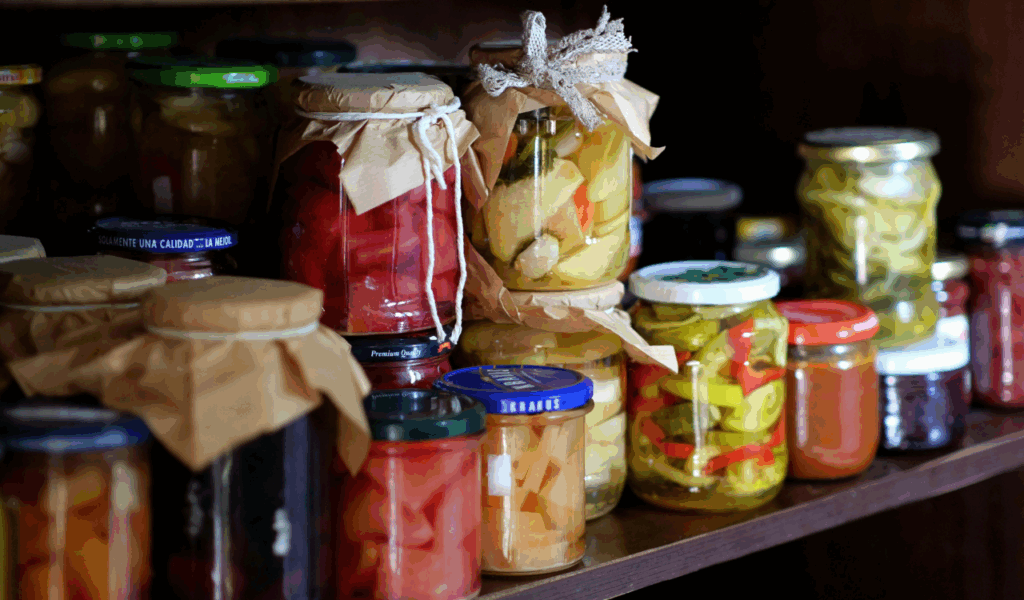
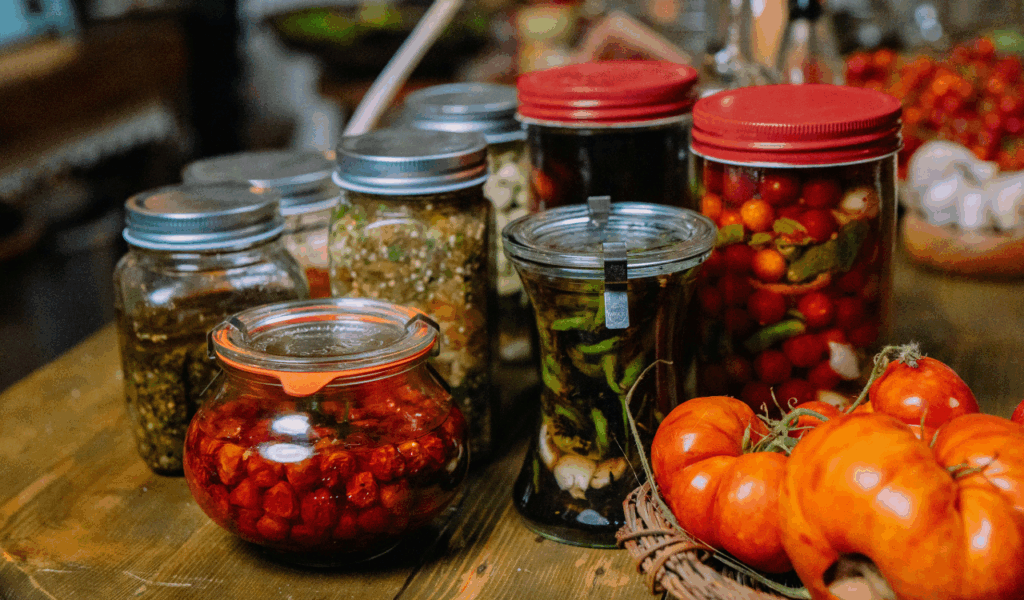
9. Store Your Ferments Properly Once Done
To slow down the fermentation, transfer your ferment to the refrigerator or another cold storage area once it has reached the flavor you want. For weeks or even months, this helps maintain the texture and flavor. To prevent contamination, always scoop out servings using clean utensils. While some ferments, like yogurt, stay relatively stable, others, like sauerkraut or kimchi, continue to develop flavor in the refrigerator. Both safety and deliciousness are preserved by cold storage.