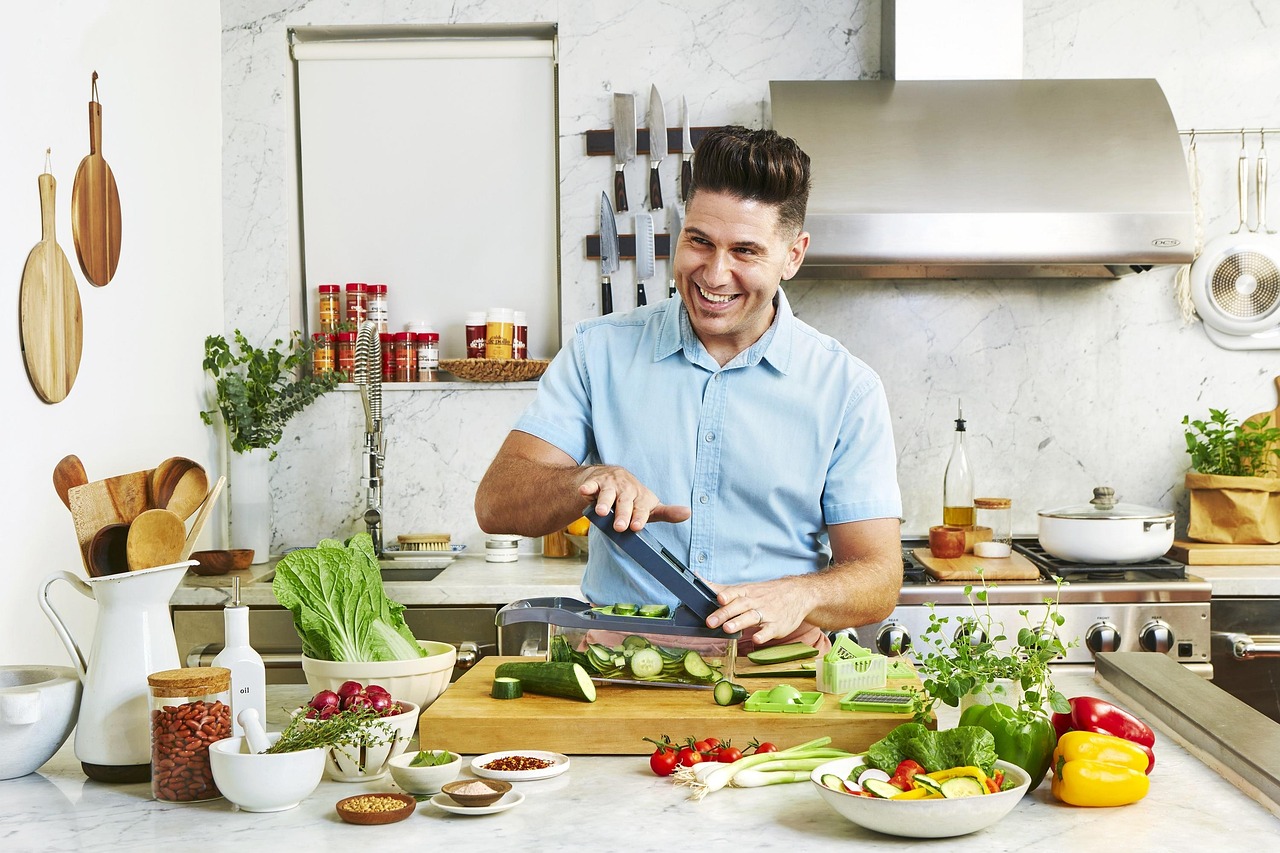
12 Smart Storage Hacks to Maximize a Small Kitchen
Every inch matters in a tiny kitchen. Smart design, creative storage, and a little preparation can make your space feel functional, spacious, and even enjoyable to use. You don’t have to settle for cluttered counters and crammed cabinets. This post offers 12 useful storage tips that will help you maximize your limited space. These are methods you can use right now to recover space, enhance accessibility, and lessen visual chaos; they won’t be tricks. Let’s get started.
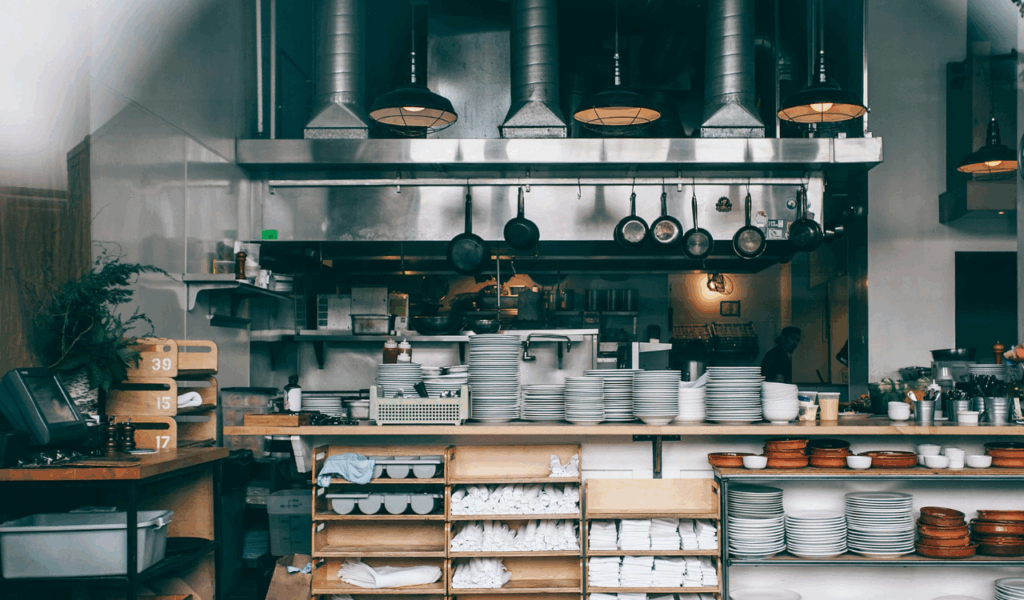
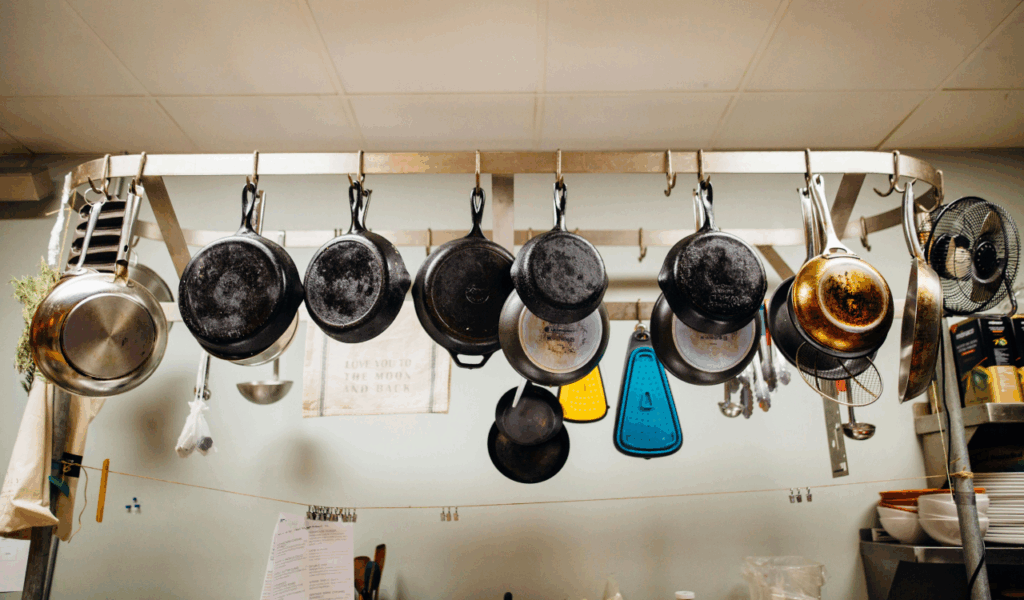
1. Use Vertical Walls for Hanging Storage
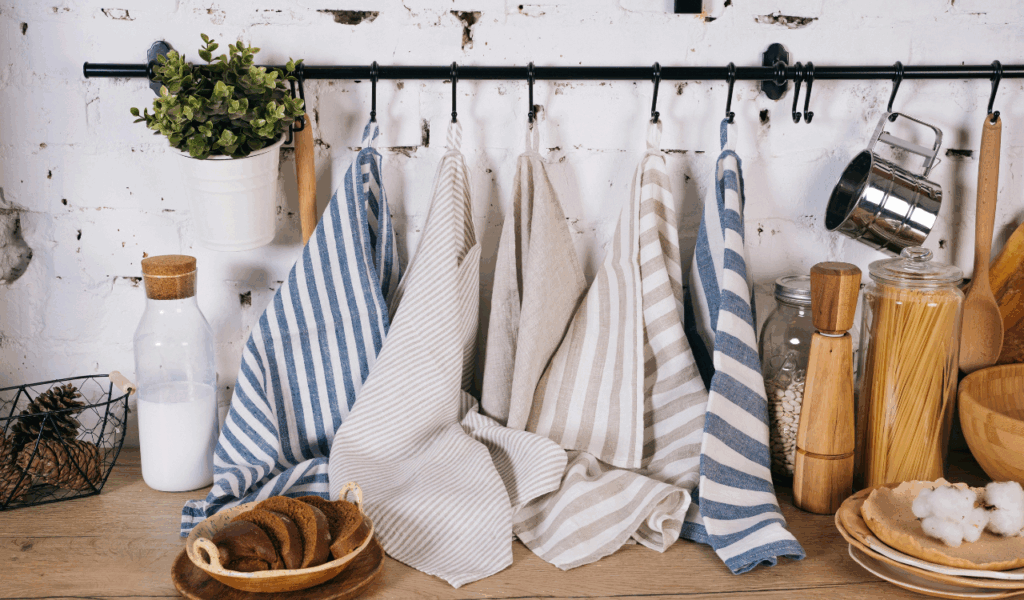
Look up when counter and floor space are limited. Pots, pans, utensils, and mugs can be hung by installing rail systems, pegboards, or rail strips on unused wall space. You turn a blank wall into a functional storage space. You spend less time rummaging because everything is accessible and visible. Simply mount firmly into studs or with the appropriate anchors, paying attention to weight loads and clearances. This vertical approach frees up drawer and cabinet space for larger or less frequently used items.
2. Install Pull‑Out Drawers Inside Cabinets
Pots, lids, or containers can become black holes in the deep, dark nooks of many kitchen cabinets. Installing sliding trays or pull-out drawers inside cabinets allows you to see everything by bringing the contents out. This makes the most of each cubic inch of depth. Additionally, it avoids stacking that could harm items and keeps things organized. To ensure that nothing is concealed behind, choose shallow drawers in taller cabinets and look for full extension slide mechanisms.
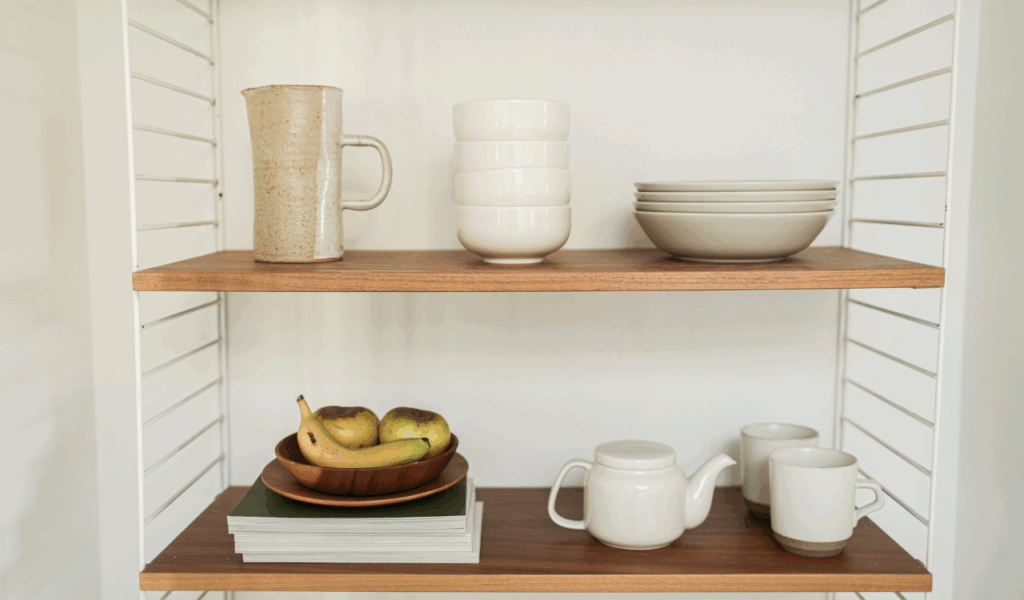
3. Add Shelf Risers & Tiered Organizers

You can double your usable layers by using a shelf riser or a tiered organizer inside cabinets or on pantry shelves. You make distinct tiers rather than arranging things in a precarious stack. This is particularly effective for dishes, glassware, plates, and canned goods. There are two benefits: increased capacity and simpler access. You can see what’s underneath thanks to transparent risers. Just make sure the weight capacity is sufficient and refrain from packing the upper shelves to the point where they become top-heavy.
4. Use Door Interiors for Slim Storage
Cabinet door interiors are prime real estate that is frequently disregarded. There, you can install magnetic knife strips, cutting board holders, spice organizers, and slim racks. This utilizes existing space without changing your layout. If properly measured, these shallow additions don’t obstruct door closure. To free up other spaces for large items, use them for things you use often, such as gloves, wraps, and lids.
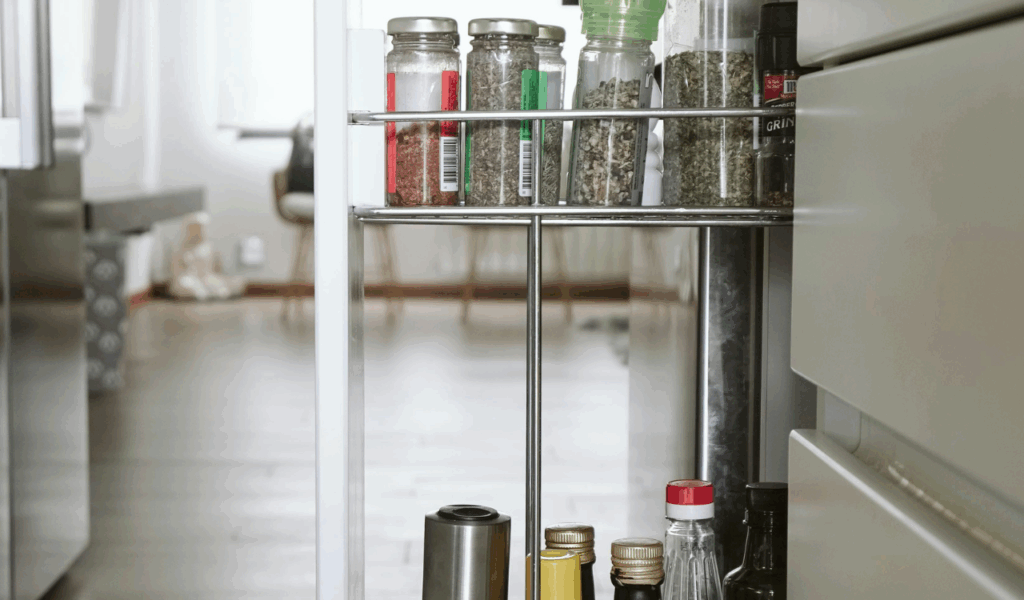
5. Slide in Narrow Pull‑Out Pantry Carts

A slim pull-out cart can fit in spaces as small as a few inches, such as between a refrigerator and a wall. These slide-in carts frequently feature several slender shelves or rails that are ideal for holding canned goods, bottles, or spices. Instead of wasting that gap area, you can see everything because they roll out. When selecting one, take exact measurements of your gap and account for swings in doors or drawers. These carts increase storage without requiring significant remodeling.
6. Use Under‑Sink Caddies & Tiered Drawers
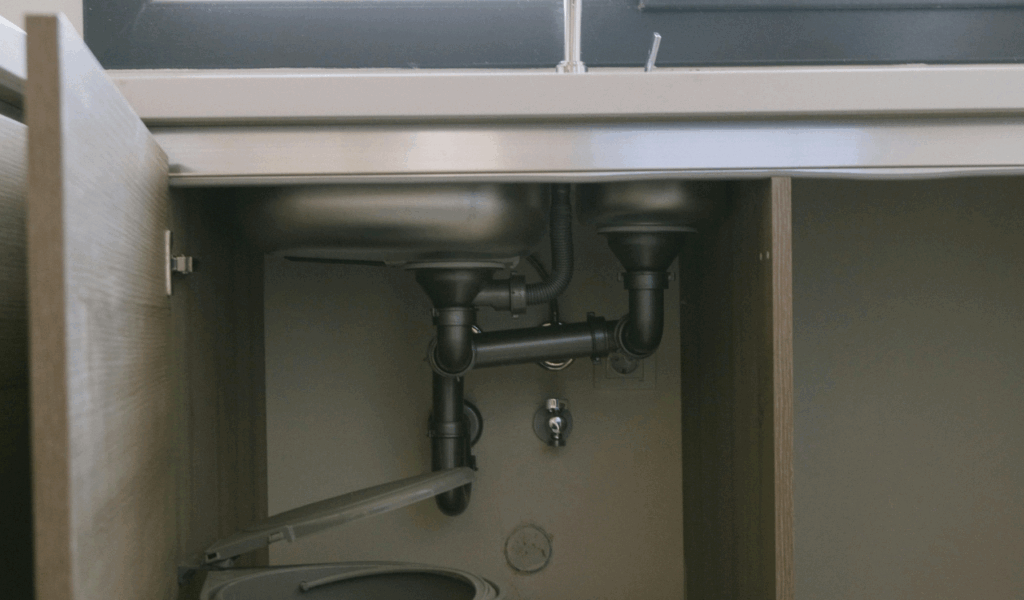
The area beneath the sink is usually unused and disorganized. There, arrange cleaning materials, sponges, or small tools with a two-tier sliding caddy or pull-out drawer system. To avoid reaching far to retrieve items, use containers with wheels or sliding inserts. To keep things balanced, place lighter objects higher and heavier bottles lower. This method reduces clutter elsewhere by transforming a difficult area into a convenient storage area.
7. Stack Appliances or Store Vertically
When not in use, a lot of small appliances, including toasters, mixers, and blenders, can be stacked or stored vertically. One unit can be raised and another stacked underneath using shelf inserts, stands, or appliance risers. Alternatively, keep everyday appliances at eye level and store infrequently used ones in higher cabinets or ceiling-level shelves. This method keeps your toolkit available when you need it while reducing countertop clutter.
8. Employ Magnetic or Adhesive Strips

Knives, metal-lidded spice jars, and small metal tools can be secured to walls or cabinets using magnetic strips. Utensils, measuring spoons, and even tiny containers can be held in place by adhesive strips (if you can trust the surface). These strips keep the tools you use most frequently close at hand while conserving cabinet space. To ensure nothing falls, always check the surface conditions and weight limits. This greatly lessens drawer clutter over time.
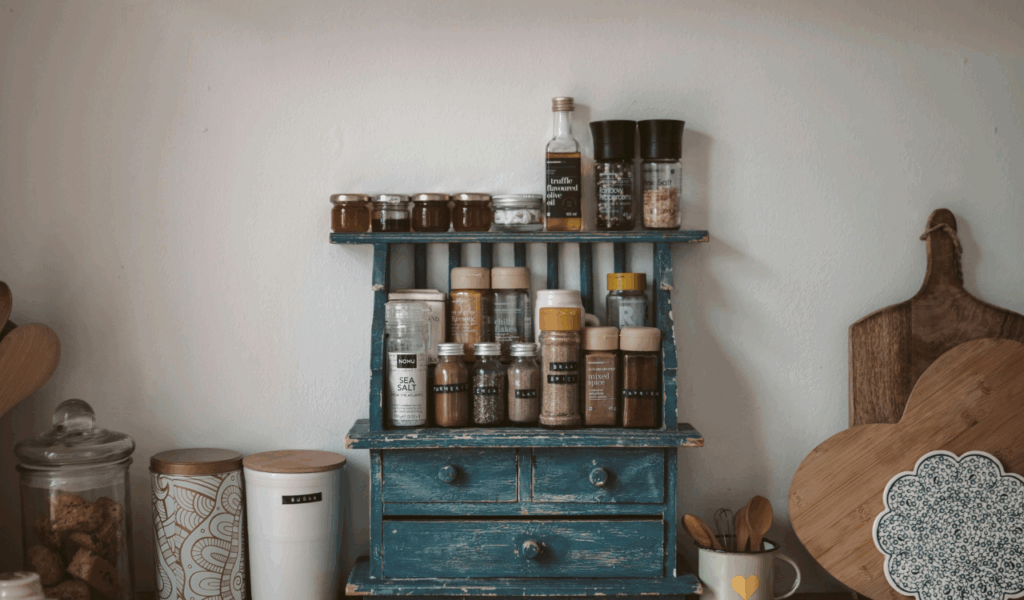
9. Use Clear, Stackable Containers & Labels
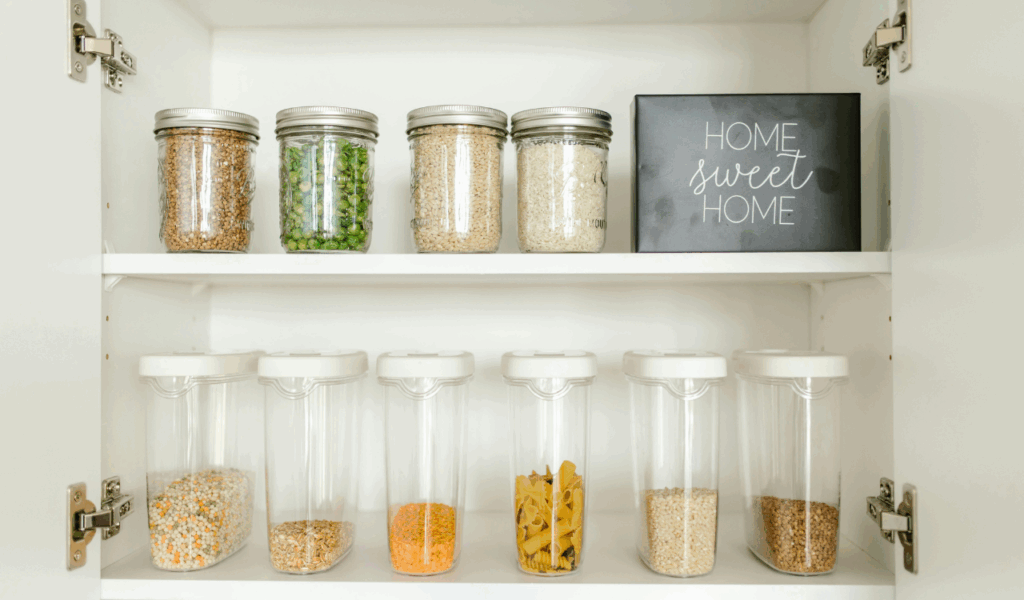
By using consistent, transparent, stackable jars or bins in place of opaque or mismatched containers, you can quickly see what’s inside. You can avoid awkward gaps and increase the efficiency of every shelf because they stack well. Pair with labels, particularly for dry goods, grains, and spices. Clear containers prevent duplication and speed up retrieval. To ensure that nothing is wasted above or below your shelves, choose containers that match their heights.
10. Hang a Rail Over the Sink or Counter
Hooks for pots, utensils, dishcloths, and even tiny baskets can be attached to a rail that is positioned above the countertop or sink. It frees up counter edges by utilizing vertical buffer zones. Additionally, it reduces movement when cleaning or cooking by bringing tools closer to the work area. Hooks can be removed or rearranged as necessary if the rail is modular. Just don’t put things that leak or drip on exposed surfaces.
11. Fold‑Down or Drop‑Leaf Counter Extensions

Install a fold-down or drop-leaf extension that you can raise only when necessary if the permanent countertop size is limited. It provides additional workspace or storage space when open, and it leaves wall clearance when folded. Hooks or shallow shelves can be installed beneath that surface. This hack gives you an extra real work area without adding bulk over time by striking a balance between functionality and compactness.
12. Create a Rotating “Lazy Susan” Corner Unit
Because things get lost in the back, corners are frequently underutilized. Even deep corners are completely accessible with the installation of a rotating lazy Susan and circular shelves that spin. They can be applied to small appliances, jars, or pots. Items that are hidden are brought to the front by the spinning action without being displaced. Use tiered rotating units for cabinets that are deeper. When drawers or doors are open, make sure there is enough space and a smooth rotation.