The Best Oven Baked Ribs: One Chef Approved Trick That Works
When it comes to oven baked ribs, achieving the perfect balance between tenderness, juiciness, and a caramelized crust can seem tricky. Yet, one chef’s method proves it’s entirely possible at home with simple tools and patience. This technique focuses on slow heat, proper seasoning, and a clever timing trick that keeps the meat succulent. Forget the smoker or grill, your oven can deliver ribs that slide off the bone, with layers of smoky sweetness and texture that rivals any restaurant-quality barbecue platter.
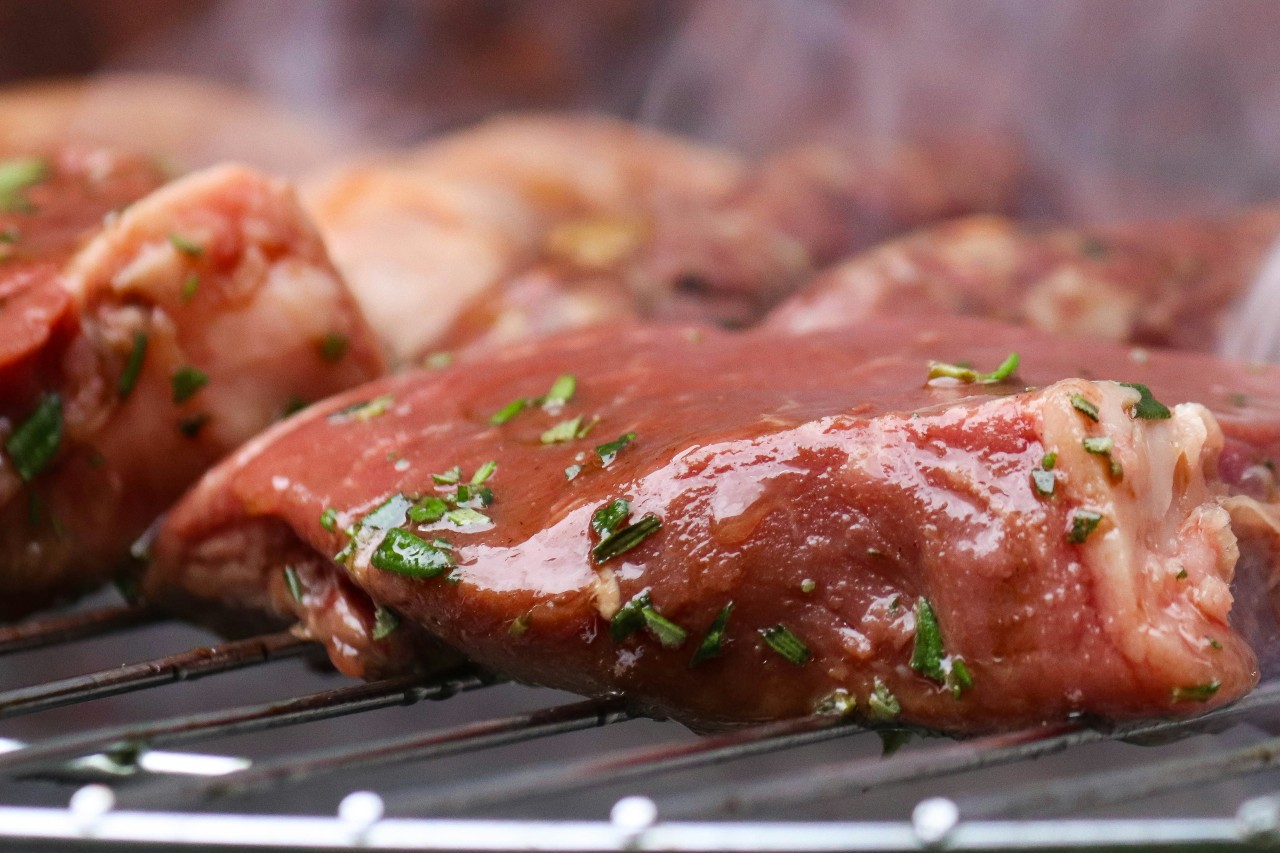
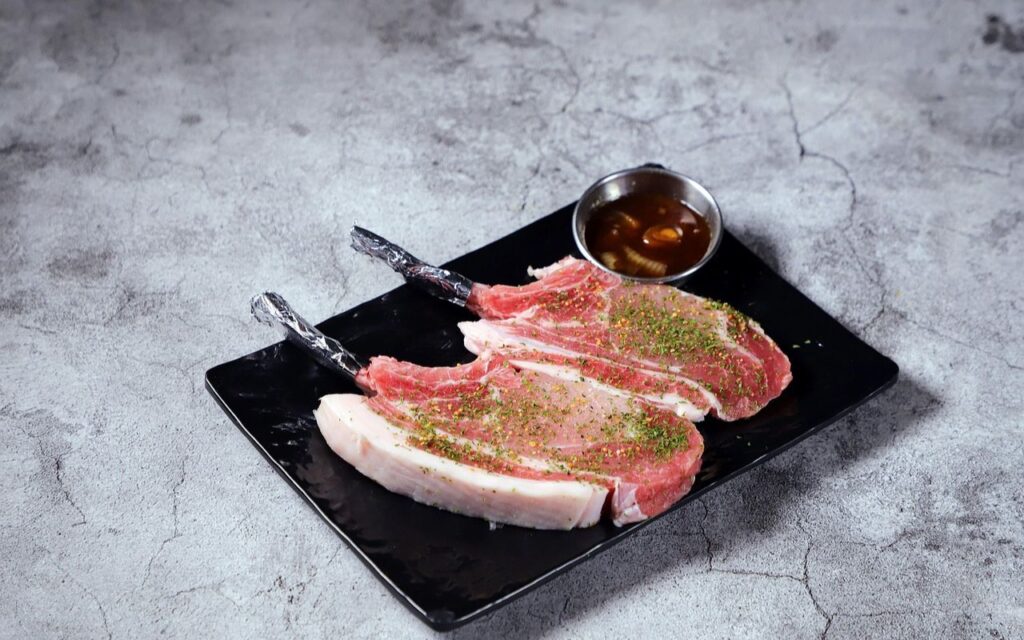
1. Choose the Right Cut
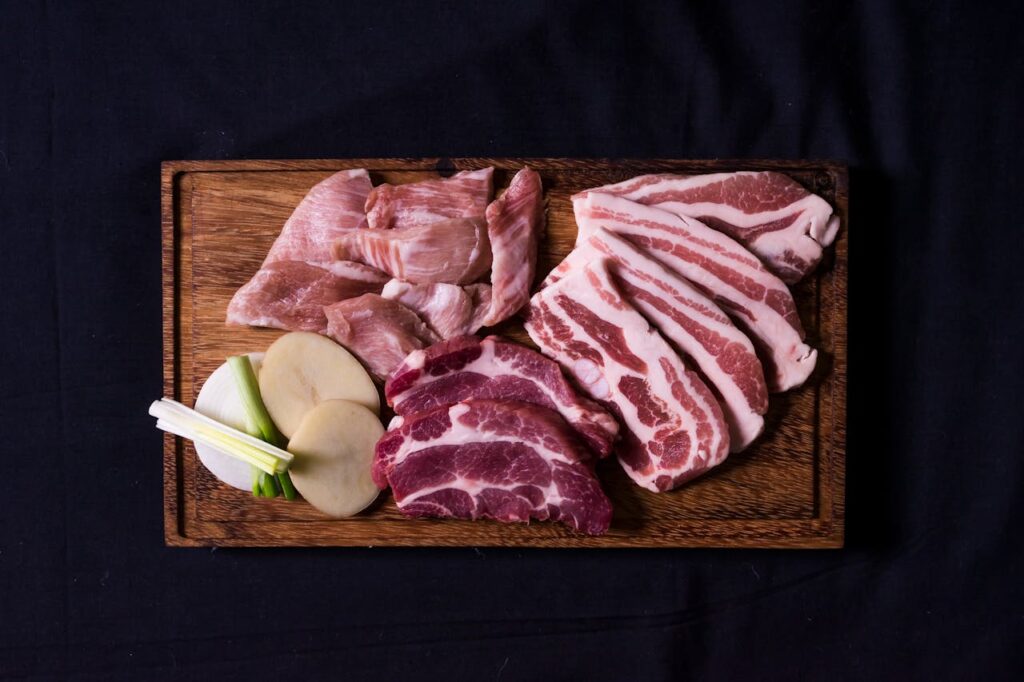
The foundation of great ribs begins with choosing the right cut. Baby back ribs are lean and tender, while spare ribs have a richer, fattier flavor that stays moist through long baking. Look for racks with even marbling and avoid those that seem too thin or overly trimmed. Removing the silver membrane on the underside allows rubs and seasonings to penetrate deeply. This step ensures your ribs cook evenly, absorb flavor thoroughly, and turn out juicy with just the right amount of chew in every bite.
2. Dry Rub and Rest Time
A good dry rub acts as both seasoning and flavor builder. Combine kosher salt, brown sugar, paprika, garlic powder, onion powder, and black pepper for a balanced mix. Coat the ribs evenly, pressing the blend firmly into the surface so it adheres. Then refrigerate uncovered for at least one hour, or ideally overnight. This drying time enhances flavor absorption and lets the rub form a crust during baking. The result is ribs with a seasoned bark that locks in moisture and delivers deep, smoky flavor.
3. Low and Slow Baking
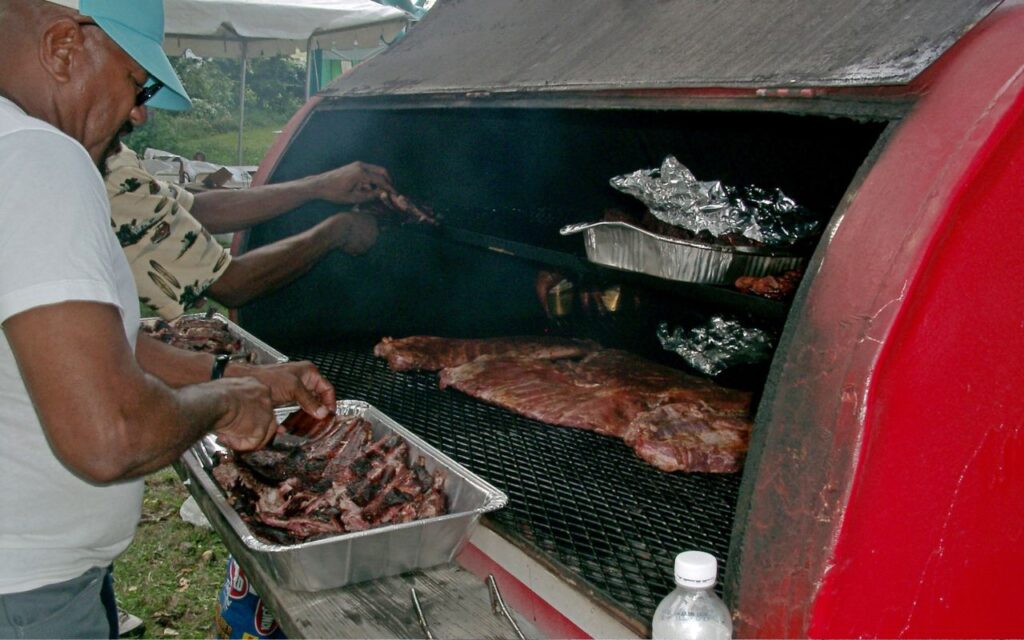
Slow baking at a gentle temperature transforms tough connective tissue into tender, melt-in-your-mouth meat. Preheat your oven to 275°F (135°C) and cook the ribs for about two and a half hours. Line a tray with foil and place a wire rack inside to allow airflow underneath. Cover the ribs with another layer of foil to retain moisture early on, then uncover for the last 30 minutes to brown the edges. This steady, low heat gives you ribs that are juicy inside and beautifully crisped outside.
4. The Chef Approved Trick: Rest Before Glazing
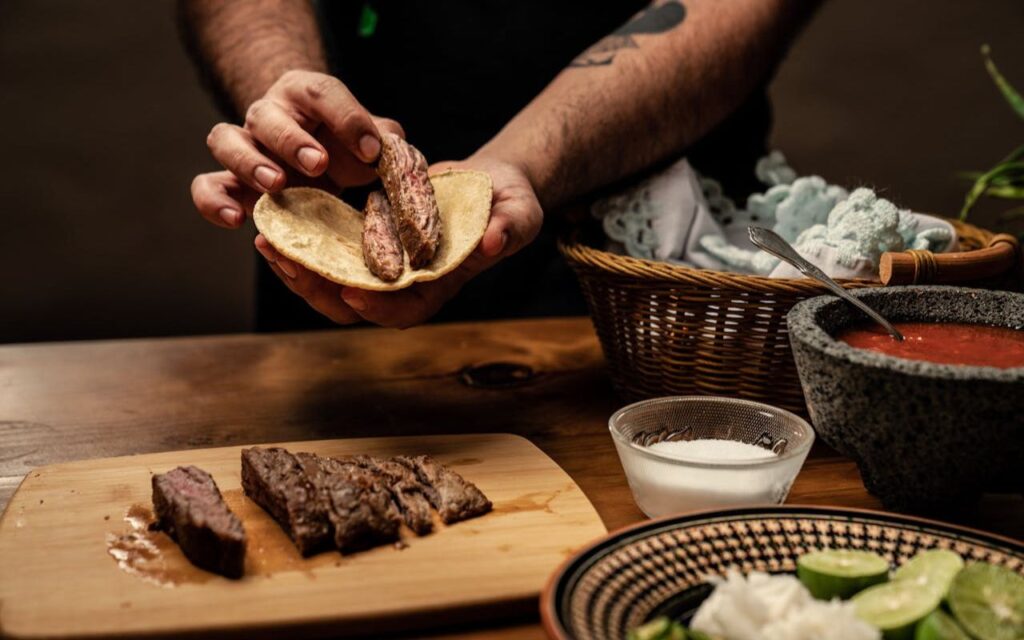
The simple yet powerful trick every chef swears by is to rest your ribs after baking. Once they come out of the oven, leave them untouched for about 15 minutes before glazing or cutting. This pause allows the juices to redistribute evenly throughout the meat, preventing them from spilling out. The texture stabilizes, giving you ribs that slice cleanly and stay moist. During this rest, you can also brush on a light layer of sauce, letting it absorb gently into the surface.
5. Glaze and Final Finish
After the rest, the finishing glaze is where flavor comes alive. Brush on your preferred sauce: smoky barbecue, honey-chipotle, or maple bourbon in a thin, even layer. Return the ribs to the oven at 400°F (205°C) for about 8 minutes or until the glaze turns sticky and glossy. This brief high heat caramelizes the sugars without burning them. When done, allow the ribs to cool for a few minutes before slicing. The glaze sets perfectly, sealing in flavor with a mouthwatering sheen.
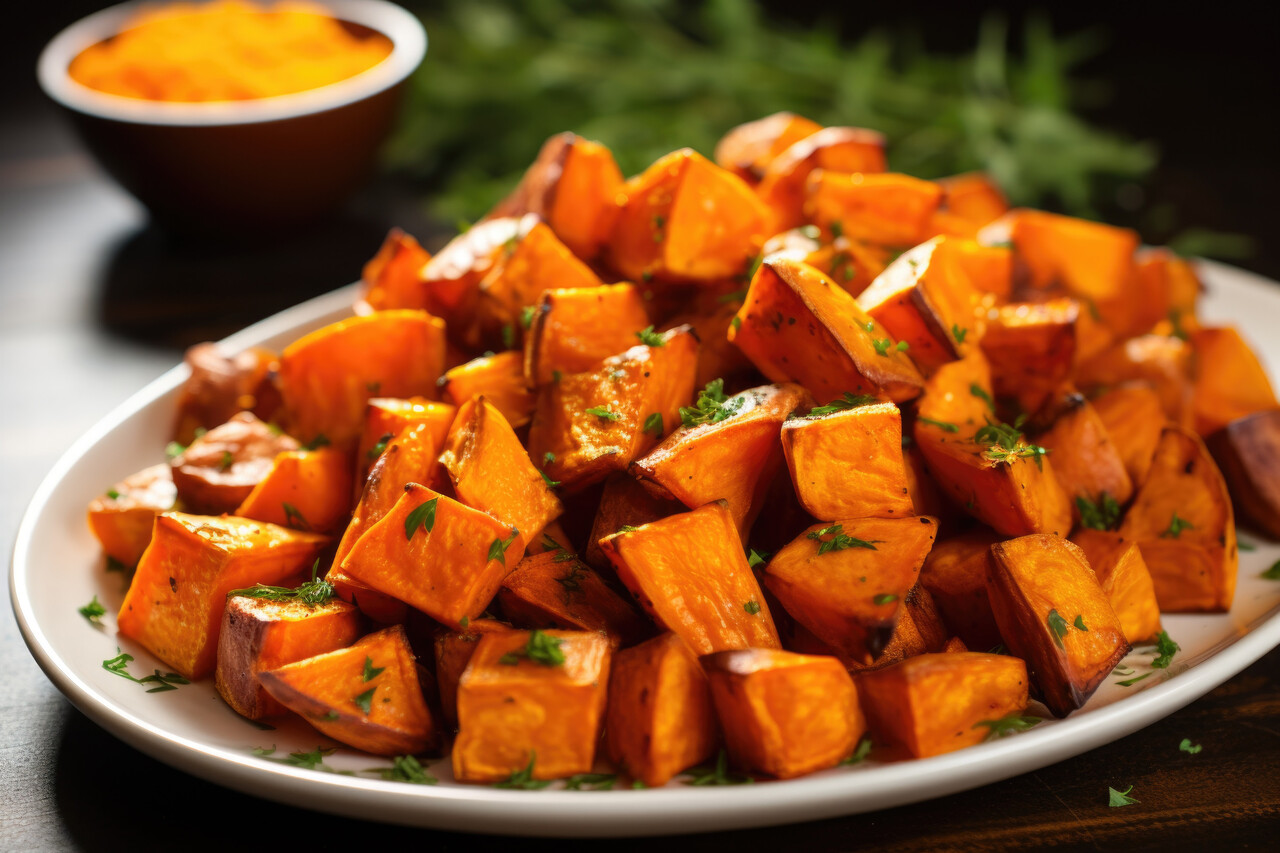
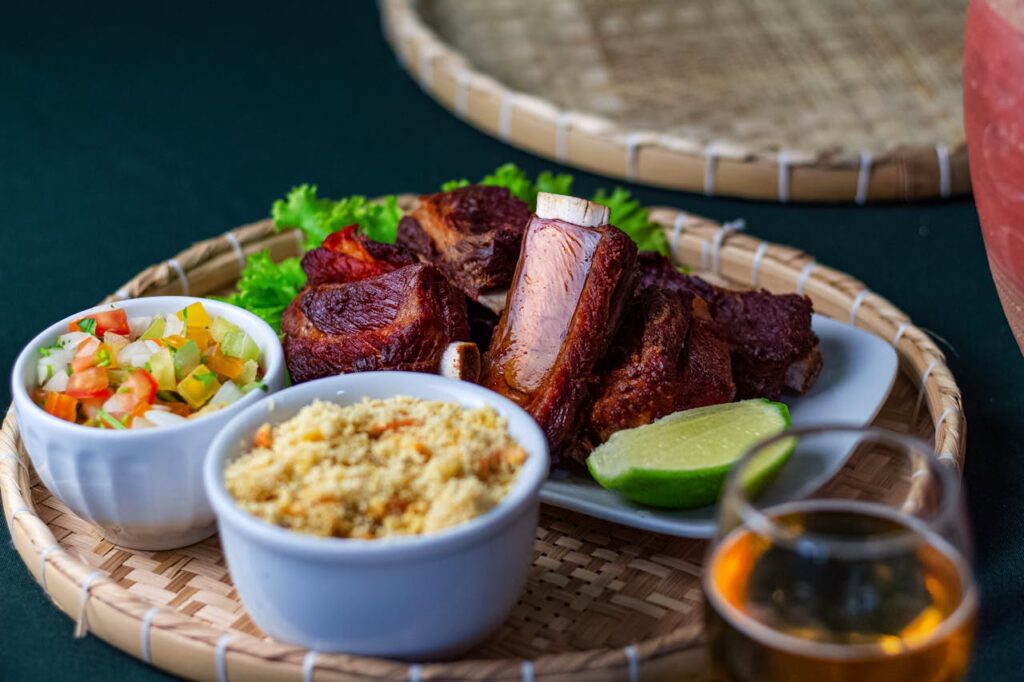
6. Sauce Variety and Pairing
Sauce variety brings character to your ribs. Traditional barbecue blends sweet molasses with tangy vinegar, while Asian-inspired sauces balance soy, ginger, and sesame for a savory twist. Mustard-based glazes create sharp contrast against the rich pork. Each variation pairs well with different sides: try corn pudding for sweet contrast, baked beans for smoky depth, or a citrusy slaw for freshness. Matching your sauce to the meal theme elevates the dish from casual comfort to chef-level presentation effortlessly.
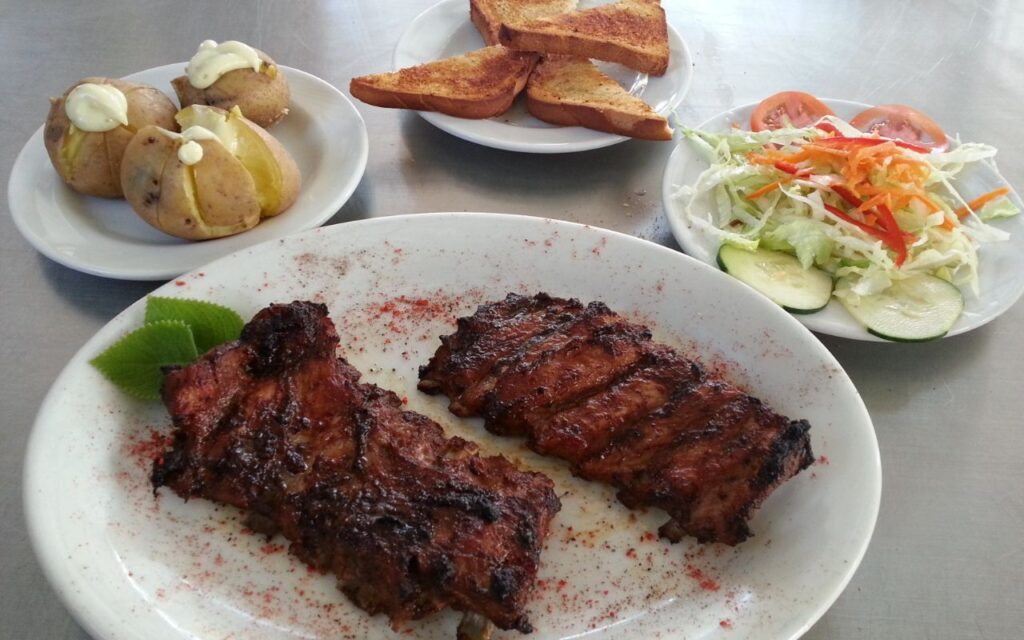
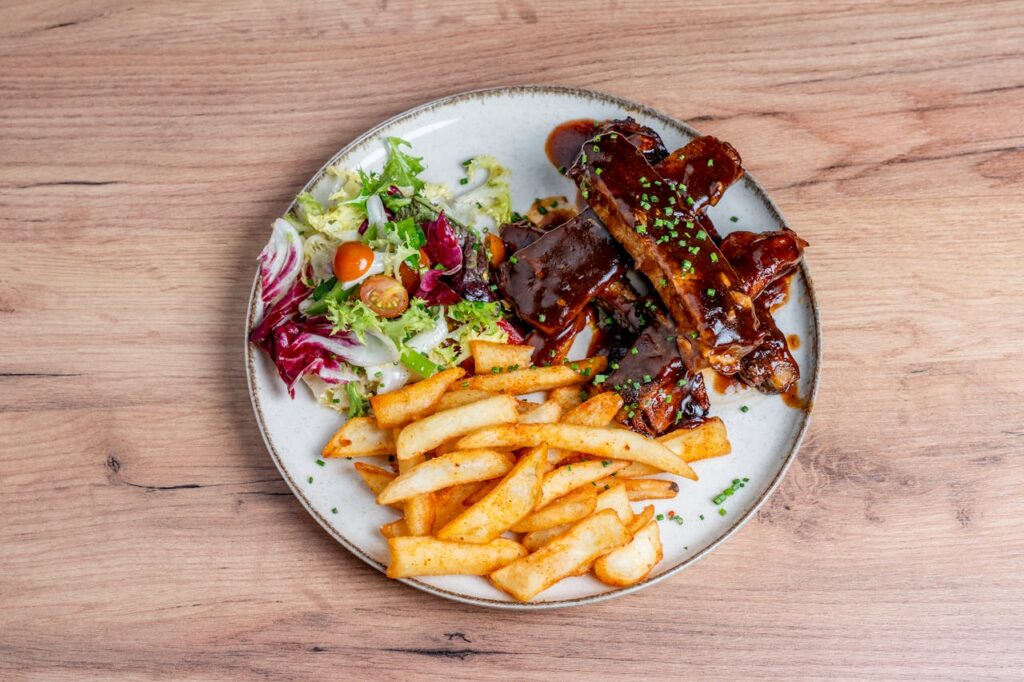
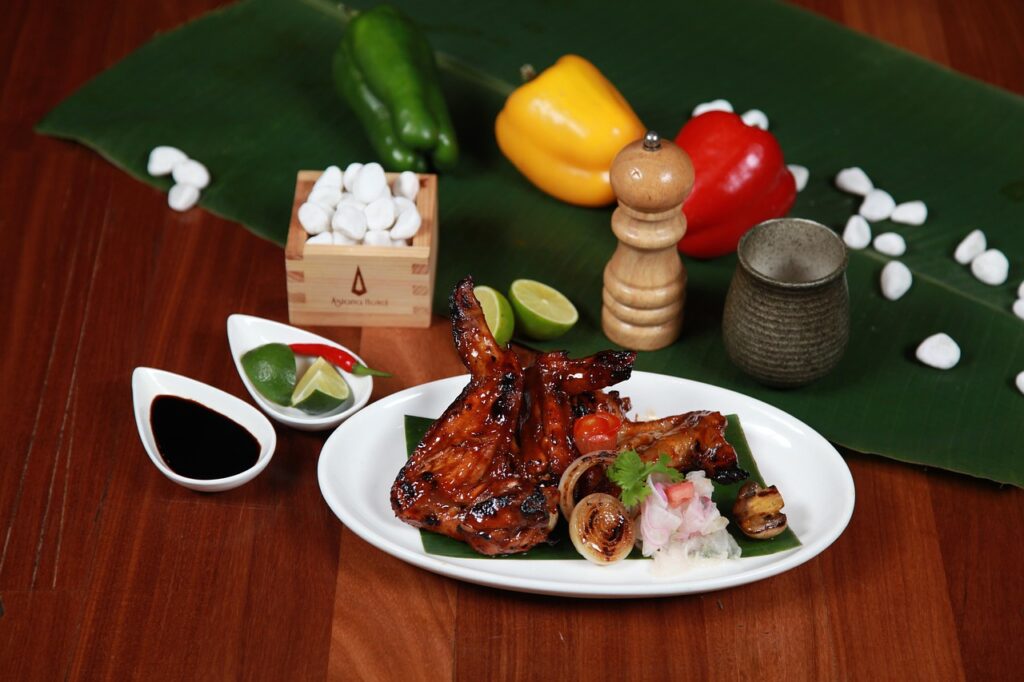
7. Serving and Presentation
The final reveal should be as satisfying to the eyes as it is to the palate. Slice the ribs cleanly between bones using a sharp knife and arrange them neatly on a platter. Drizzle extra glaze over the top for shine and garnish with chopped parsley or chives for color. Add roasted corn, coleslaw, or cornbread on the side for balance. Warm plates help keep the meat tender during service. When presented well, your ribs become both centerpiece and conversation starter at any table.
8. Storage and Reheating
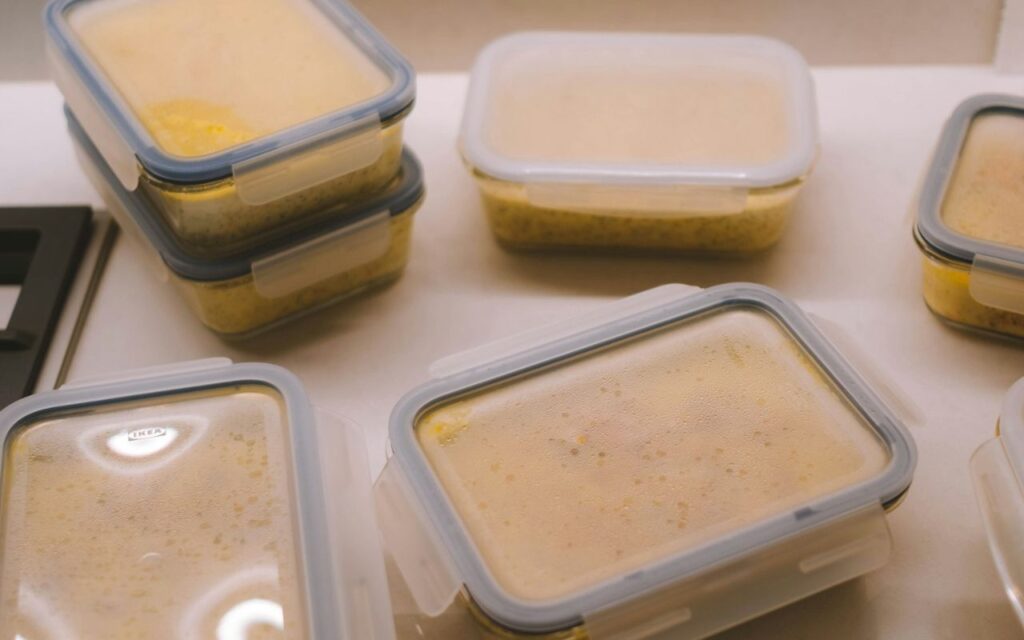
Proper storage helps maintain texture and flavor. Wrap leftover ribs tightly in foil or store them in airtight containers with a small spoon of sauce to prevent drying. Refrigerate for up to three days. When reheating, set your oven to 300°F (150°C), add a splash of water or broth inside the foil, and warm for about 20 minutes. This gentle reheating restores moisture and prevents toughness. Avoid microwaving, as it can alter the texture. Handled correctly, leftovers taste nearly as good as fresh.